
A few years ago, I think shortly after the Little Prince turned one, I made him some tops with envelope necklines by using the excellent 90-minute shirt tutorial, along with this pattern. I needed an actual pattern to make a nice t-shirt, because tutorials alone have never worked out to my liking! This is a relatively easy shirt to make, and it allowed me to upcycle some t-shirts that I and the Engineer were discarding. Attaching the binding for the neck also gave me the chance to flatlock with my serger – I tried with the ladder side of the stitch both on the outside and on the inside, and I think I prefer the former. (In case anyone is interested: here is an Amy Alan video demonstrating four types of stitches with a serger, as well as a quick guide to sergers on Make It Handmade, a tutorial for flatlock stitching, and another one if you want to understand which thread goes where).


I also made a pair of shorts from the sleeves of a man’s t-shirt (tutorial here). I had to do some adjusting for the size, but I’m not crazy about how they came out (so no pictures). I do plan on making more, though, and use them as pajama bottoms for Baby 2.
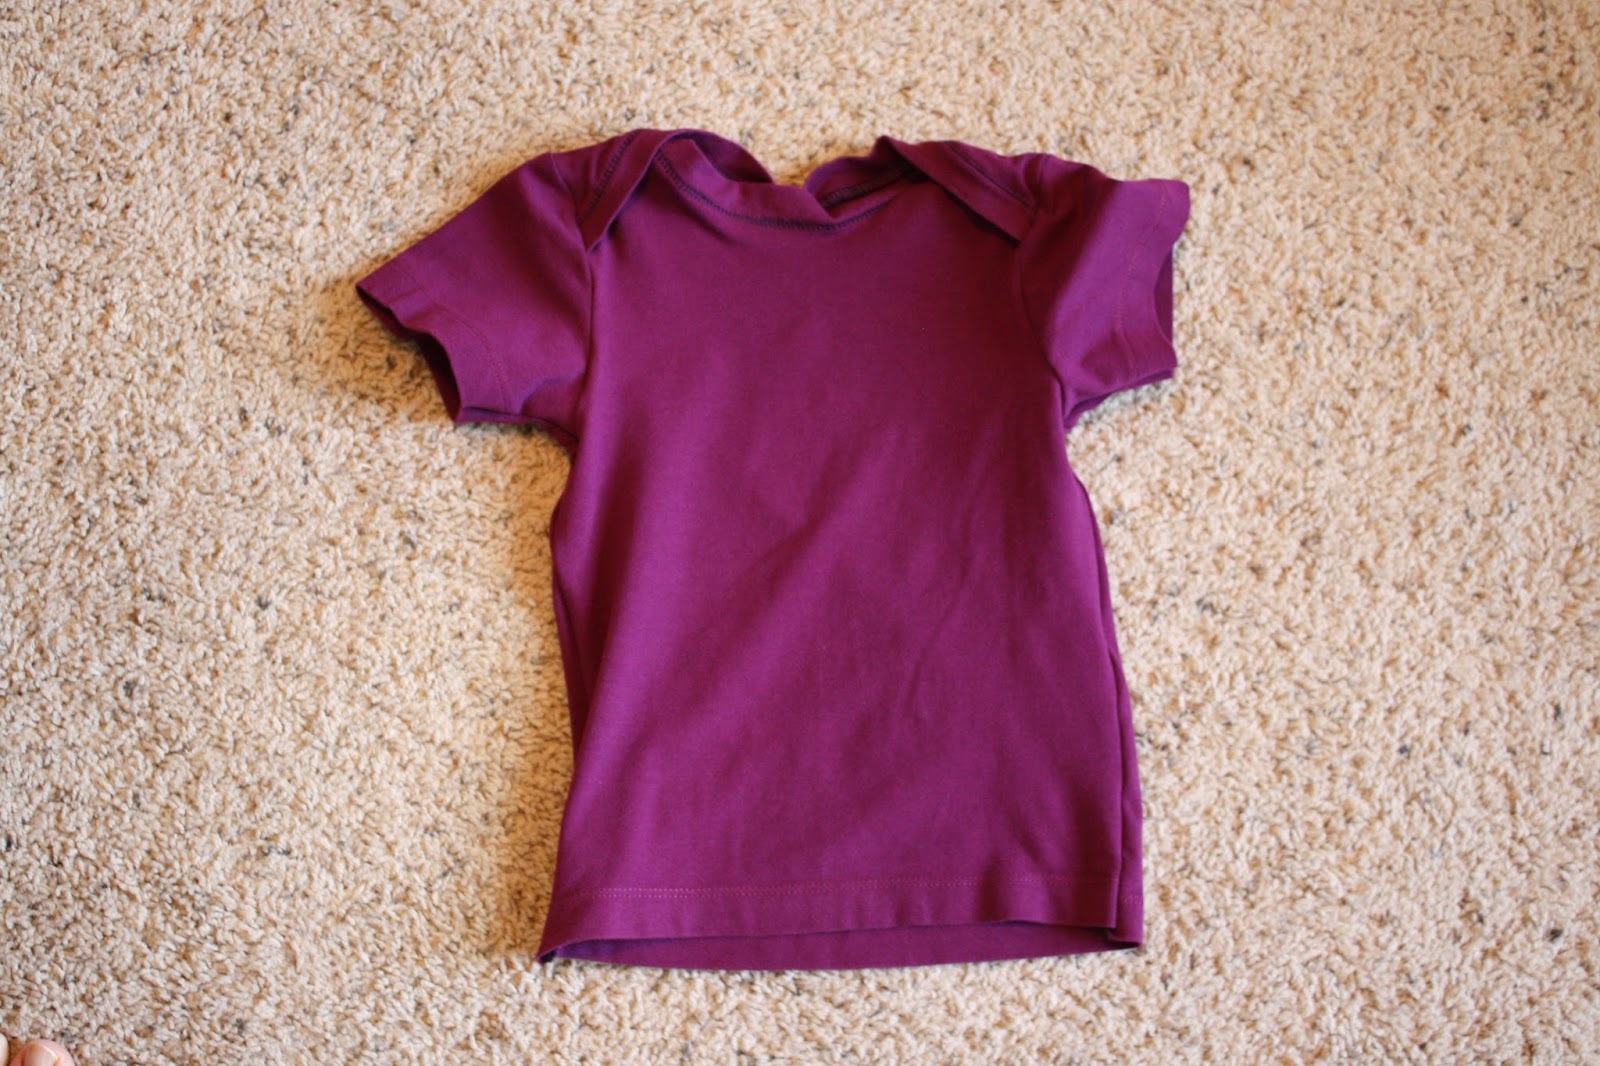
More recently (last spring, actually), I made some crew-neck t-shirts for the Little Prince, and I am really pleased with how they turned out! I used this tutorial and pattern because I find the author reliable. This time, I used the regular serger stitch on the neck ribbing, not flatlock. I started by using two of my old t-shirts, and I liked the result so much that I bought two more at the Salvation Army for the purpose of converting them (and at $3 and $4 respectively, plus thread, they were still cheaper than brand-new t-shirts). With a serger, these are surprisingly fast to make, especially since you can use existing hems. Note that these shirts fit my son very well at 3 years old, so I’ve adjusted the pattern by printing it at 115% to make a few more now that he’s grown a bit, and I made a pattern piece for a long sleeve to make a few more in a different style.


Another piece I’m really proud of is a cardigan I made from a beloved old sweater of mine (which I couldn’t wear because of bleach stains on the front). I was inspired by this and used the pattern for the Darling Cardigan on Etsy, and in addition to said sweater, threw in some scrap jersey knit from another t-shirt, along with thread and buttons. I just love how it turned out!


I also made a few pieces for my goddaughter. First, a few years ago, I used McCall’s M7007 pattern to make a tunic from a shirt I no longer wore. I threw in a pair of legwarmers made from an old pair of socks that I had really liked (and the colors complemented each other so well!).


For Christmas, I made her this comfy knit dress (with pockets!). I used scraps from the pink shirt above along with some grey jersey knit from another garment.


And just last month, I used an old garment I had made and only worn a few times (and would no longer wear because it really didn’t suit me that well) to sew a Polly Peasant dress for next summer. I added a small ribbon loop to mark the back neckline. Then I decided to add a ribbon at the waist and use one of the fancy stitch settings on my machine, which I never get to do otherwise – I love the result!


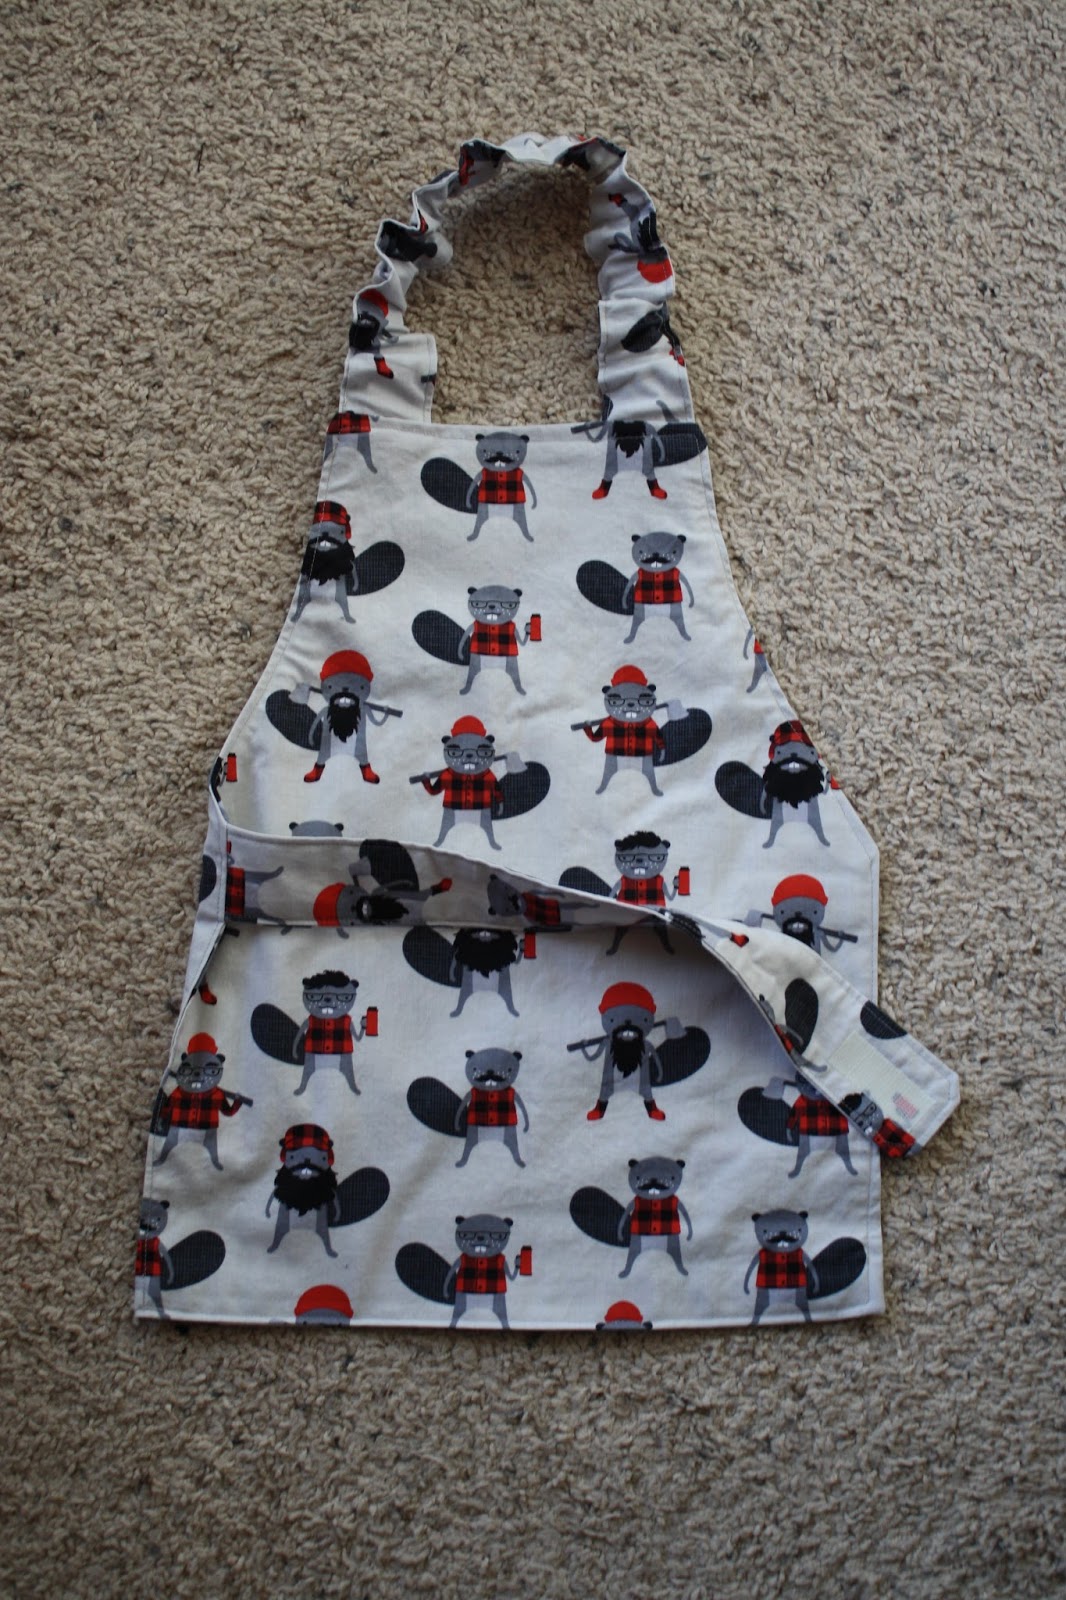
My most recent projects included a child’s apron and Oxford shirts. The apron was a Christmas gift for the Little Prince; I came across the pattern on Jejune.net, and following the link for where she found the Darling Fox print fabric led me to this awesome, Canadian-looking Burly Beaver print. This apron was very fast to make (seriously, you can do it during your toddler’s afternoon nap). The only thing I would change is that I would make the neckband longer, since my son has a big head and this is borderline comfortable to put on or off. About that, since the neckband is elastic and the strap ties on with Velcro, your toddler can in theory put it on and remove it by himself, which is a definite plus! The Little Prince enjoys wearing it when he’s standing in his learning tower watching us cook.


Then I made a classic button-down Oxford shirt. This pattern comes in sizes from 3 months to 12 years, so it’s very versatile! I started by using yellow scrap fabric from another project (which never came out to my liking and which I was never going to wear) along with the cool variegated thread I had bought for it, plus buttons from a shirt discarded by the Engineer, so even though I had to pay for the materials at some point, I feel like by now it was free and just helping me make some space in my stash. I made size 4T, but it turned out to just barely fit the Little Prince now (he’s 3 ½), so the next ones I made were size 6T. I ran into a problem with the collar, which the pattern seems to size too large for the shirt, so I had to do some fudging with the pattern to get it to come out right. Then I made three more using old shirts of the Engineer’s, so the upcycling is keeping me happy AND it’s faster than making a shirt from scratch entirely. (The sleeve plackets can be reused easily, as can the bottom hems, but I recommend making a collar from scratch.)


Finally, I made two sweaters using this pattern and two sweaters I had in my discard pile (one was mine, one was the Engineer’s).

As for toys, I made two ragdolls (one for my son and one for my niece, on their first birthdays) using the tutorial and pattern found here. I used this fabric for the body, and fabric scraps to make clothes, along with embroidery floss for the facial features and yarn for the hair. For the boy doll, I sewed the hair in several strips from right to left (I’d use fewer strips next time, as he has a bit too much hair!), and from front to back for the girl (see tutorial here). Honestly, front to back would work for the boy doll too, but when I tried it, I wasn’t sure, and ended up preferring the other way – you can compare the first picture with the ones where he is dressed. And for the girl, I used a few yards of scrap yarn to knit her some undies and a scarf, since I was sending her to Canada in the winter and felt like the summer dress wasn’t enough (and I said I wasn’t into animism – lies!).


No comments:
Post a Comment