Thursday, July 30, 2015

Caramelized Garlic, Spinach and Cheddar Tart


Bon Appétit calls this a tart, but I’ve been referring to it as a quiche. It takes some advance preparation, because you have to make your own crème fraiche by putting 1 cup of lactose-free cream and 1 tablespoon of lactose-free plain yogurt (or Greek yogurt) in a jar, shaking it and leaving it at room temperature for 24 hours, or until it thickens. It’s not complicated at all, but you do need to plan ahead. I managed to make the dough by hand, without a food processor, so don’t let a lack of equipment stop you! Since I don’t have a good pie dish here, I ended up using a 9-inch springform pan, to make sure I had enough depth for the filling – perhaps using two tin pie plates would have been an option as well. With a good stoneware pie plate, I would have had enough room and enough dough left over to make a decorative braided border, but this was delicious nonetheless. Actually, the first night I had it, I thought it was the best quiche I’d ever eaten, but the leftovers weren’t as good for some reason (maybe I should have warmed them up in the oven). The Engineer liked it, but thought that the cloves of garlic should be chopped instead of whole. I think that would defeat the purpose a bit, because they’re what makes the dish, but I can understand that he doesn’t like biting into them. I suppose if you wanted, you could chop them (or even purée them) before adding them to the filling, and it would still retain the caramelized flavor. Either way, this was a make-again dish, hearty and delicious and with plenty of leftovers!

enough pie dough for 2 plates (home-made or store-bought; I made this one)
5 large eggs
3 heads of garlic, cloves peeled
kosher salt
1 Tbsp. olive oil
1 Tbsp. balsamic vinegar
1 cup water
1 Tbsp. maple syrup
1 tsp. chopped fresh rosemary
1 tsp. chopped fresh thyme
freshly ground black pepper
6 oz. lactose-free sharp white cheddar cheese, grated (about 2 cups)
2 cups baby spinach, chopped
¾ cup lactose-free crème fraiche (see above)
¾ cup lactose-free cream

Place a rack in lower third of oven; preheat to 350 °F. Roll out 1 disk of dough on a lightly floured surface to a 14” round. Transfer to a 9”-diameter pie dish. Lift up edge and let dough slump down into dish. Trim, leaving about 1” overhang. Fold overhang under. Freeze 15 minutes.

Meanwhile, roll out second disk of dough on a lightly floured surface until about ⅛” thick. Cut into ¼”-thick strips. Transfer to a parchment–lined baking sheet. If dough is soft, chill until just pliable. Working with 3 strips at a time, braid dough, returning braids to baking sheet as you go. Chill until just pliable.

Beat 1 egg in a small bowl. Brush edge of dough in dish and bottom sides of braids with egg. Arrange braids along edge, trimming and gently pressing sections together as you go. Freeze 15 minutes.

Line dough with parchment paper or foil, leaving some overhang. Fill with pie weights or dried beans. Bake until crust is dry around edge, 25–30 minutes. Remove parchment and weights and brush entire crust with egg. Bake until crust is dry and set, 10–15 minutes. Let cool.

Meanwhile, blanch garlic in a medium saucepan of boiling salted water until beginning to soften, about 3 minutes; drain. Wipe saucepan dry and heat oil in pan over medium-high. Add garlic and cook, stirring occasionally, until cloves start to turn golden brown, about 2 minutes. Add vinegar and water and bring to a boil. Reduce heat and simmer until garlic is tender, 10–12 minutes. Add maple syrup, rosemary, and thyme, and season with salt and pepper. Cook, stirring occasionally, until liquid is syrupy and coats garlic, about 5 minutes.

Scatter cheese over crust; top with spinach. Whisk crème fraîche, cream, and remaining eggs in a medium bowl; season with salt and pepper. Pour over spinach. Add garlic with any syrup. Bake until custard is set and golden brown in spots, 35–40 minutes (mine took a whopping 70 minutes, but it was deeper than a regular pie). Let cool on a wire rack.

Monday, July 27, 2015

Apple Honey Challah


This recipe, from The Kitchn, was created for Rosh Hashanah, what with the apples and honey and all. I made it in June because it seemed like a good side dish any time of the year, though I concede it would be more suited to early fall. The kitchen – and the whole apartment, actually – smelled fantastic, like a really good bakery. And the bread was absolutely delicious! The recipe makes two loaves, so I froze one, and it held up very well. I’ll be making this one again!

1 Tbsp. active dry yeast
1/3 cup + 1 tsp. granulated sugar, divided
1 ¼ cups warm water (about 110 °F)
5 cups all-purpose white flour, plus more for kneading
2 tsp. salt
½ cup vegetable oil, plus more for greasing
4 large eggs, divided
¼ cup honey
2/3 cup apple butter, divided
1 small apple, peeled, cored, and finely chopped, divided

Stir together the yeast, 1 teaspoon of sugar, and the water in a medium bowl. Let sit until foaming, 5 to 10 minutes.

Meanwhile, stir together the remaining 1/3 cup sugar, flour, and salt in a large bowl. Set aside.

Add the vegetable oil, 3 of the eggs, and the honey to the yeast mixture and whisk to combine. Make a well in the flour mixture and pour in the wet mixture. Gently stir until the dough begins to form, then turn out the dough onto a floured surface and knead well, adding more flour a little at a time as necessary, until a supple dough forms, 10 to 12 minutes. (Expect to add about 1/3 to ½ cup of flour while kneading, depending on humidity.)

Rub about 1 teaspoon of oil around the bottom of a large bowl, add the dough and turn to coat; cover with plastic wrap or a clean kitchen towel and let sit in a warm place until nearly doubled in size, about 1 hour.

Grease two 9-inch round cake pans; set aside. Gently punch down the dough and divide in half. Working with 1 piece of the dough (and keeping the other covered so it does not dry out), roll it into a large rectangle about 1/8-inch thick. Spread 1/3 cup of the apple butter evenly over the top, and sprinkle with half of the chopped apple.

Starting at one of the long ends, tightly roll the dough in on itself, like a jelly roll. Pinch the ends to seal and gently stretch into a 24-inch rope; coil rope into a circle and place into one of the prepared pans. Repeat process with second piece of dough, remaining 1/3 cup of apple butter, and remaining apple.
Whisk the remaining 1 egg in a small bowl and brush the challahs with one coat of egg wash. (Put remaining egg wash in the fridge.) Let rise for another 30 minutes. Fifteen minutes before baking, preheat the oven to 375 °F.

Uncover the challah and brush with a second coat of egg wash. Bake until deeply browned and cooked through, 45 to 55 minutes. (An instant read thermometer inserted in the center of the loaf should register 195 °F – for my loaves, this only took 30 minutes, and they were already a little browner than I would have wanted.) Remove from oven and let sit 15 minutes. Carefully remove from the pans and let cool on a wire rack.

Thursday, July 23, 2015

Blueberry Cornmeal Custard

I made a few different types of oatmeal for breakfast over the past month. There was oatmeal brûlée with brown buttered pears and cinnamon ginger cream, which was good, but not as good as it sounds.


I also made baked maple oatmeal, which was great served with a bit of cream. Much plainer than the previous dish, but somehow more satisfying.


My favorite so far, though, wasn’t really oatmeal, though it did contain oatmeal flour. It’s this blueberry cornmeal custard adapted from Whole Grain Mornings, by Megan Gordon (apparently, it called for huckleberries in its original version). I bought that book very recently, but I haven’t had the time to look through it yet, because I left it in Texas – I look forward to perusing it this fall. This dish really hit the spot, though: it’s like a cross between sweet cornbread and custard, and with the berries, it’s just perfect for breakfast. My favorite part was definitely the custardy center, and I can’t think of another dish I make that gives the same satisfying, warm, gooey goodness in the center.

I adapted the ingredients a bit to make it lactose-free, though I took advantage of being in Quebec so that I could use lactose-free cream. I do think, however, that you could substitute coconut milk in this case and end up with roughly the same effect. I don’t have a food processor here, so I bought oatmeal flour instead of pulverizing rolled oatmeal, but the author suggests substituting something like whole wheat, barley or spelt flour. I also had to be resourceful because I don’t have a good pie dish in my summer kitchen, so I used an 8”x8” pan instead. It worked out just fine, but if you do that, do remember to cut pieces in the same way you would cut a pie (instead of a pan of brownies), because the center of the dish really is the best part, so it’s important that each piece has a little bit of it.

3 Tbsp. unsalted butter or vegan margarine, plus more for greasing the pan
¾ cup (75 g) oat flour
1 cup (160 g) medium-grind cornmeal
1 tsp. baking powder
½ tsp. baking soda
2 large eggs, beaten
¼ cup (45 g) natural cane sugar
1 teaspoon kosher salt
2 cups lactose-free whole milk
2 Tbsp. white vinegar (or apple cider vinegar)
2 tsp. grated lemon zest
2 tsp. vanilla extract
1 ¼ cups (300 g) fresh or frozen huckleberries or blueberries
¾ cup lactose-free cream
maple syrup, for serving (I like medium or amber)

Preheat the oven to 350 °F. Butter a deep-dish 10-inch pie pan (or an 8-inch square dish – see note above). Place the buttered dish in the oven to warm while you make the batter.

In a small dish, melt the butter in the microwave on medium-high heat, careful not to let it splatter (about 45 seconds). Pour into a large bowl and set aside to cool for a few minutes.

Meanwhile, in medium bowl, whisk together the flour, cornmeal, baking powder and baking soda. Set aside.

Add the eggs to the butter and wish to combine. Add the sugar, salt, milk, buttermilk, vinegar, lemon zest and vanilla and stir well. Whisking constantly, add the flour mixture slowly and stir until the batter is smooth.

Remove the heated pan from the oven and set on a baking sheet for easy transport to and from the oven. Spoon the berries into the bottom of the pan in an even layer. Pour the batter on top of the berries. Then ever so slowly, pour the cream right into the center of the batter. Don’t stir. Carefully slide the pan into the oven, taking care not to jostle.

Bake until golden brown on top, 50-65 minutes (the baking time is subject to temperature and humidity – you are looking for the top to be golden brown and the center to be dry to the touch but still ever-so-jiggly if you lightly jostle the pan). Cool for at least 15 minutes to allow the custard to firm up before slicing.

Serve warm, with a generous drizzle of maple syrup. Cover and refrigerate leftovers for up to 4 days, but do rewarm them before serving! (I froze some leftover pieces, and thawed them in the refrigerator overnight before warming them at breakfast.)

Saturday, July 11, 2015

On VermontFest 2015 and egg substitutes

My friends and I recently had our annual summer get-together, which was in Vermont this year, so it felt like going back to our roots. Like some parts of Quebec, Vermont has beautiful scenery, with lush green hills and mountains in the distance, and lakes and rivers to boot. We spent a morning at the ECHO Lake Aquarium and Science Center in Burlington. I highly recommend it if you have kids, though it was incredibly crowded when we were there (probably because it was rainy and everyone decided to spend the day indoors like us). We also made a quick outing to Boston Post Dairy Farm, where I tasted some delicious aged goat cheese called Eleven Brothers – lactose-free as far as I can tell.

We did a cookie taste-off this year again, but with a twist. Since our friends’ daughter is severely allergic to eggs, we had decided to test a few vegan recipes. But there are tons of egg substitutes out there and I, for one, didn’t know which one is best in a cookie recipe. I’d heard about flax seeds and chia seeds, corn starch (and for cakes and the like there’s yogurt, peanut butter, bananas, avocados or applesauce), plus harder-to-get ingredients like agar-agar or soy protein, in addition to commercial egg replacer. What to choose? So Jen had the brilliant idea of making variations of the 36-hour cookie (our returning champion two years in a row): one batch with eggs, and three vegan batches with three different egg substitutes. All other ingredients were exactly the same, and for the record, the butter substitute was Earth Balance soy-free margarine sticks and the chocolate was Callebaut’s dark chocolate discs. The cookies went directly from the freezer to the oven for 12 minutes at 350 °F and were sprinkled with Maldon sea salt. The substitutes we chose were aquafaba, flaxseed meal, and Ener-G brand egg replacer (which is basically a mix of potato starch, tapioca starch and leavening). In the picture, from left to right, you can see the prepared Ener-G, the aquafaba and the prepared flaxseed meal.

If you’ve never heard of aquafaba, let me catch you up: the word is Latin(ish) for bean water, and it’s the liquid from a can of chickpeas (people also call it chickpea brine or chickpea juice). I first heard about this last spring in what seemed at the time like a magic trick: apparently, this liquid can be whipped and behaves just like egg whites (and this discovery is credited to French chef Joël Roessel). This means you can make vegan meringues, people! I had been meaning to try that, but hadn’t gotten around to it yet. The foam has a tendency to separate if it is left raw, but apparently, if you mix 1 tablespoon of cornstarch and 3 tablespoons of water and microwave it for 40 seconds, then mix that into the aquafaba along with the sugar, it acts as a stabilizer. (I’ll report back when I try it.) You can read more about it here (that first link has a meringue recipe) and here. As you can imagine, this makes it a good ingredient for people with egg allergies as well as vegans, but it also allows for things like chocolate mousse for pregnant women and those with a weakened immune system, for example. There are so many possibilities! In the case of these cookies, we used 3 tablespoons of aquafaba (not whipped, just straight from the can) per egg, so 6 tablespoons total.

With the leftover liquid from the can, Jen made meringues, which I present to you here. The liquid whipped up like magic! I tasted it both raw and once baked into meringues, and I can attest that it doesn’t taste at all like chickpeas. It’s actually pretty bland, and the sugar makes the meringues sweet. I though perhaps the meringues were a bit grainier than egg meringues, and the Engineer felt the taste was slightly malty (I didn’t). One man in our group, the Legal Chef, is opposed by principle to any recipe that is not traditional (it’s not a matter of results with a recipe, just truly a matter of stubbornness on his part regarding “proper” technique and ingredients). To him, “traditional” in this context means French-style baking with lots of butter and eggs. So we had him taste the meringues without saying anything, and he called them “perfect” (his word, not mine). When we told him that they contained a special ingredient, he was sure that it was lemon juice (no, actually, we had used white vinegar). And then Jen told him about the aquafaba, and I saw the moment his mind exploded (because he actually shook first his head, then his whole body, because basically his entire belief system collapsed). He tried to backpedal by saying he was no meringue connoisseur, but his wife stepped in to say that SHE was and she loved these vegan ones. Even though I’ve seen the whole process, it’s still a bit mind-blowing to me. (Then again, once upon a time, I’m sure someone must have thought the same after looking at what happened when egg whites are whipped? I mean, whose idea was that, anyway?) For those interested in trying aquafaba, chickpeas seem to be the most commonly used bean, but I’ve heard of people using white beans, for example, so perhaps it works with legumes in general. That being said, chickpea brine whips up really white and I’d recommend that for meringues, and perhaps save the black bean brine for chocolate mousse.

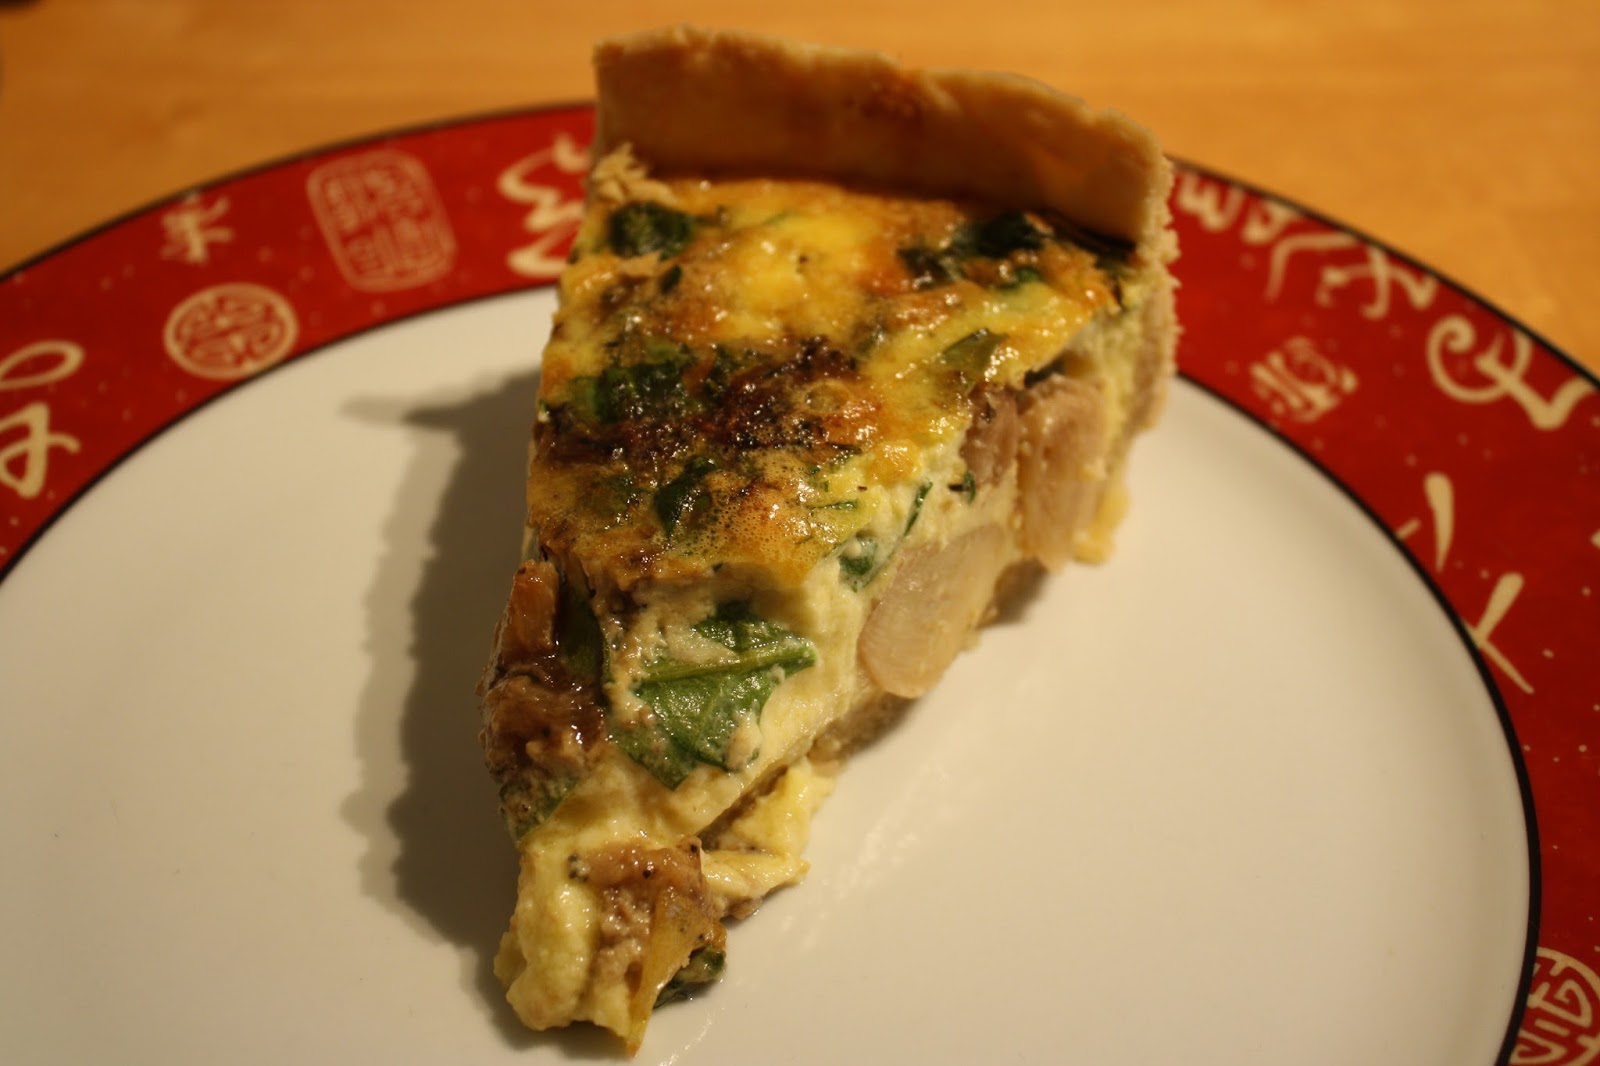
As for the cookies, we labeled each batch with a letter and had people rate them on a scale of 1 to 4, with 1 being the best and 4 being the least-best. We only revealed the contents of each batch after they had been rated. (And to be clear, the kitchen was decontaminated after the egg batch was made, and those cookies were only baked after the allergic child was in bed; the kitchen was decontaminated again after the cookies were eaten, and there was no cross-contamination.) The cookies made with eggs were, once again, the clear winners. The Actor said they were the ones with the most flavor, and he called it a “strident” egg flavor. Those cookies were also cakier, which I love because I want my cookies chewy. My second favorite was the batch with the Ener-G egg replacer, and it came out as the overall favorite vegan version. Those cookies were most similar to the egg ones, albeit it a bit drier (though when they were freshly baked, this was in no way pronounced enough to be unpleasant). The cookies made with flaxseed meal were my least favorite, as they were flat and crisper, in addition to being darker. (We think this is because flax introduced more fat than the other substitutes.) Their taste was described as “nutty” by some. As for the Legal Chef, he declared that the flaxseed cookies were by far his favorites, and that he wouldn’t even bother rating the others because batch B was his perfect cookie. (And then we told him that they were vegan and even though he was disappointed with himself, he stuck by his choice.) In the pictures below, batch A is made with aquafaba; batch B, with flaxseed meal; batch C, with Ener-G egg replacer; and batch D, with eggs. On the plate, clockwise from top left, they are from batches A, B, D, and C respectively. (I'm including both the pictures with and without flash because even though flash is bad, lighting was worse.)

So overall, the egg cookies were voted best, the Ener-G cookies were second best, the aquafaba cookies were in third place, and the flaxseed meal cookies were a close fourth. To sum up the details without boring you with every single person’s rating, I’ll assign a point value to each rated position (1 point for 1st position, to 4 points for 4th position), so that “better” cookies have FEWER points. If I add up all the points awarded to the cookies by 10 adults (so not including Danny, who this year again declined to rate them, and not including the Legal Chef who only crowned a winner and did not rate the others), I get 15 points for the egg batch, 24 points for the Ener-G batch (they were favorites only for Anna R. and Elinore), 30 points for the aquafaba batch (they were nobody’s favorites, though), and 31 points for the flaxseed meal batch (Pascal was the only other person who rated them as his favorites, besides the Legal Chef). Also, in the interest of science, the Actor has tested it again and confirms that these cookies are better with flaky sea salt on top. So there you have it. The 36-hour cookies will be making an appearance in the next taste-off to defend their title. I’m wondering whether I should pit them against my Neiman-Marcus cookies

Tricots de filles

Je ne pense pas que les petites filles devraient être limitées à porter du rose. Cela étant dit, c’est quand je tricote pour des petites filles que moi j’ai pas mal ma seule occasion de tricoter avec du rose, alors souvent, je saute dessus!

J’ai des amis qui ont adopté récemment, alors j’ai décidé de faire ce cardigan avec une décoration de ruban. J’ai utilisé de la Cascade 220 en couleur Cotton Candy, que j’ai agencée avec du ruban à gros-grain rose bonbon picoté blanc . (Je dois admettre que j’ai failli utiliser plutôt une combinaison turquoise, avec cette laine et ce ruban, mais j’ai choisi le rose.) Ça a été un peu dur de coudre le ruban, d’une part parce que le tricot s’étire et pas le ruban, et d’autre part parce que mes coutures à la main ne sont pas aussi esthétiques que je voudrais, mais j’aime beaucoup le look en général. J’y ai ajouté un chapeau beehive agencé.

Ensuite, j’ai pu tricoter pour ma filleule, qui est née il y a maintenant six mois. J’ai commencé par un mignon petit cardigan avec une patte de boutonnage, que j’ai tricoté avec de la laine Shibui Maai en couleur Ash, qui est un fil en chaînette fait d’un mélange d’alpaga et de mérinos. Les boutons sont de ma collection. C’est vraiment tout petit, ça lui faisait tout juste à deux mois!

J’ai continué en fouillant dans ma liste de patrons à faire et je me suis rabattue sur cet adorable cardigan, que j’ai tricoté avec de la laine mérinos Malabrigo Lace en couleur Garnet (42). J’aime beaucoup les motifs de dentelle et je suis assez satisfaite du résultat. Ce qui est dommage, par contre, c’est que les instructions du patron sont très vagues, alors j’ai dû faire des calculs et écrire le numéro des rangées pour ma version. Ce que je n’avais pas prévu, c’est l’espacement pour les boutons : le nombre de rangées entre les boutons est le même, mais puisque le haut est tricoté en point mousse, et le bas, en point jersey, la longueur entre le bouton du haut et celui du milieu est moindre que celle entre le bouton du milieu et celui du bas. Tant pis…

Pour ce gilet gris, j’ai été inspirée par cette beauté Ravelry, et j’ai pensé que ce serait le projet parfait pour utiliser des restes de laine rose. Cependant, je dois admettre que je suis déçue par le résultat. J’ai recommencé trois fois en insistant pour tricoter le tout, et en fin de compte, je crois que j’aurais dû tout tricoter en gris, puis repasser avec une aiguille enfilée de ma laine rose pour faire les motifs de cœur. C’est bien ce que je compte faire la prochaine fois!

Il me restait assez de laine Cascade 220 grise et rose pour faire un autre chapeau avec un motif de petites vagues pour ma nièce, et aussi, puisqu’elle n’avait qu’une paire de mitaines (qui tombaient à l’occasion dans une flaque de slush), j’ai fait des mitaines de bébé faciles avec la même laine. Mais voici le problème que j’ai rencontré : j’ai récemment lavé la tuque que j’avais faite pour le Petit Prince (en Cascade 220 grise et rouge) l’automne dernier, et elle s’est tellement agrandie que ce n’est même pas drôle! Je me souviens que les bottines vertes que j’avais faites avec de la Cascade 220 s’étaient un peu agrandies au lavage, mais j’avais blâmé ça sur le patron. Après tout, je petit cardigan vert que j’avais fait avec la même laine (dans le même billet que les bottines) n’a pas changé de taille! Alors je pensais vraiment que la laine était correcte, mais là, je pense qu’elle est problématique… Et j’ai tant fait de cadeaux avec! Crotte de bique.

Tant qu’à y être, j’ai tricoté un cardigan d’un modèle de Bernat. Il me restait de la laine Madelinetosh Tosh Merino Light, couleur Vermillion que je voulais finir, même si elle est plus fine que celle du patron. Il suffisait d’adapter un peu, mais je recommanderais quand même une laine plus épaisse. Toujours est-il que j’en ai acheté d’une couleur complémentaire, Posy, qui est plus pâle. Maintenant, il me reste assez des deux pour faire au moins un autre cardigan pareil, alors ce n’était pas la meilleure stratégie pour finir les restes de Vermillion! Mais c’est un excellent problème à avoir, je trouve ces laines superbes. J’ai pris trois boutons de ma collection pour compléter (ils viennent d’Etsy à l’origine).

Enfin, pour finir ma laine « cheap » rouge avec brillant argent, j’ai fait un simple patron de chapeau. J’en avais juste assez, alors je n’ai pas fait de cordons ni de pompon. C’est très extensible et unisexe, alors je ne sais pas encore qui va en hériter; on verra ça l’hiver prochain.

Wednesday, July 08, 2015

Pavlovas au chocolat avec crème fraîche et compote de framboises


Cette recette-là, publiée dans À Bon Verre, Bonne Table de la LCBO, je n’avais pas eu le temps de l’essayer l’été dernier. Et même si j’ai fait mes pavlovas par un jour humide, j’ai beaucoup aimé le résultat, car le mariage de saveurs était excellent! Par contre, à l’avenir, je crois que je vais faire des meringues plutôt que des pavlovas, car je trouve que ces premières se mangent plus facilement, étant plus sèches que moelleuses.

Pour la crème fraîche
1 tasse de crème sans lactose
1 c. à soupe de yogourt nature (avec cultures actives, sans lactose)
2 c. à soupe de sucre

Pour les pavlovas
6 gros blancs d’œufs à la température ambiante
½ c. à thé de crème de tartre
1½ tasse de sucre
3 c. à soupe de poudre de cacao
2 c. à thé)de fécule de maïs
1 c. à soupe de vinaigre balsamique
1 c. à thé d’extrait de vanille

Pour la compote de framboises
⅓ tasse de sucre
1½ c. à thé de fécule de maïs
2 tasses de framboises fraîches ou surgelées
¼ c. à thé de piment de la Jamaïque moulu

Pour la crème fraîche
Remuer la crème à fouetter et le yogourt et verser le tout dans un récipient en plastique ou en verre. Mettre ce récipient dans un bol et remplir le bol d’eau du robinet très chaude à égalité avec la crème. Placer le tout dans un endroit chaud, à l’abri des courants d’air, pendant 24 à 48 heures pour obtenir de la crème fraîche (la température extérieure et l’humidité auront une incidence sur le temps que cela prendra; plus il fait chaud et humide, moins de temps il faudra). Le produit final devrait avoir un parfum d’agrumes frais. Mettre la crème fraîche au frais sans la remuer pendant environ 3 heures, pour qu’elle soit bien prise. Un peu avant le service, prélever la crème fraîche à la cuillère, en laissant le petit lait au fond (pour le jeter ensuite) et incorporer le sucre à la crème fraîche. Mettre le tout au frais jusqu’au moment de l’assemblage.

Pour les pavlovas
Préchauffer le four à 275 °F. Couper 2 feuilles de papier parchemin qui tiendront sur 2 plaques à pâtisserie. Tracer au marqueur 4 cercles de 10 cm (4 po) de diamètre sur chaque feuille et poser ces feuilles sur les plaques à pâtisserie, sur le côté tracé (de sorte que l’encre n’entre pas en contact avec les pavlovas).

Battre les blancs d’œufs et la crème de tartre en neige, puis ajouter graduellement le sucre et continuer à battre à vitesse élevée jusqu’à l’obtention de pointes fermes quand les fouets sont levés (les blancs d’œufs seront épais et luisants). Tamiser le cacao en poudre et la fécule de maïs au-dessus des blancs d’œufs, puis les incorporer. Incorporer ensuite très rapidement le vinaigre et la vanille. Mettre une bonne tasse de meringue sur chacun des cercles tracés sur le papier sulfurisé. Faire un creux au milieu de chaque meringue en appuyant délicatement dessus et en prenant soin de ne pas étaler ni de trop travailler la meringue. Faire cuire les pavlovas de 75 à 90 minutes, jusqu’à ce que leur extérieur soit sec. (Elles prendront un peu d’expansion en cuisant, et leur croûte et leur centre moelleux se fissureront quelque peu en refroidissant.) Laisser les pavlovas venir à la température ambiante, puis les mettre dans un récipient hermétique jusqu’au moment du service. Ne pas les préparer plus d’un jour à l’avance.

Pour la compote de framboises
Mélanger le sucre et la fécule de maïs et mettre ce mélange dans une petite casserole avec 1 tasse des framboises et le piment de la Jamaïque. Porter à légère ébullition sur feu modéré en remuant de temps à autre. Une fois que les framboises ont commencé à mijoter, les retirer du feu et y incorporer le reste des framboises.

Assembler les pavlovas juste avant de les servir. Mettre une meringue sur chaque assiette. Brasser la crème fraîche pour qu’elle soit bien lisse et en mettre un bon 2 c. à soupe sur chaque meringue. Coiffer la crème fraîche de la compote de framboises et servir.