
Of course, you can use this recipe as a jumping-off point: replace the vanilla with finely chopped orange zest, add a tablespoon of nut butter or a shot of espresso, roll them in hemp seeds or coconut flakes or cookie crumbs, sprinkle on some vanilla fleur de sel… Personally, I like my truffles to melt in the mouth, so rolling them in cocoa was the way to go for me. For the chocolate, use something that you like eating on its own (I used Ghiradelli, though I can’t remember if it was semi-sweet or bittersweet – it isn’t vegan, but I can digest it just fine).

9 oz. (255 g. / 1 ¼ cup) dark chocolate, very finely chopped
7 Tbsp. coconut milk, well shaken
½ tsp. vanilla extract (optional, but recommended)
¼ cup (24 g.) unsweetened cocoa or cacao powder, for coating (optional, but recommended)
Place finely chopped chocolate in a medium-sized mixing bowl. Finely chopped chocolate will melt more easily and facilitate the process.
In a separate small mixing bowl, add coconut milk and microwave until very warm but not boiling, about 25 seconds (alternatively, heat in a small saucepan over medium heat until just starting to simmer).
Immediately add coconut milk to chocolate and loosely cover with a cooking lid or towel to trap the heat in. Do not touch for 5 minutes, then lift cover and use a mixing spoon to gently stir, trying not to incorporate air. Continue stirring until completely melted, creamy and smooth. (If, for some reason, you have unmelted pieces left, you can microwave the mixture in 10-second increments until completely smooth – just be careful not to overcook or it can affect the integrity of the chocolate).
Add vanilla at this time and stir (optional).
Set the mixture in the refrigerator to chill uncovered for 2-3 hours, or until almost completely solid. A good test is dipping a knife into the middle of the bowl to see if any chocolate sticks. If it comes out mostly clean, it’s ready to scoop. If there’s still wet chocolate in the center, continue refrigerating.
Once the mixture is chilled and firm, prepare a small dish of cocoa powder for rolling (optional).
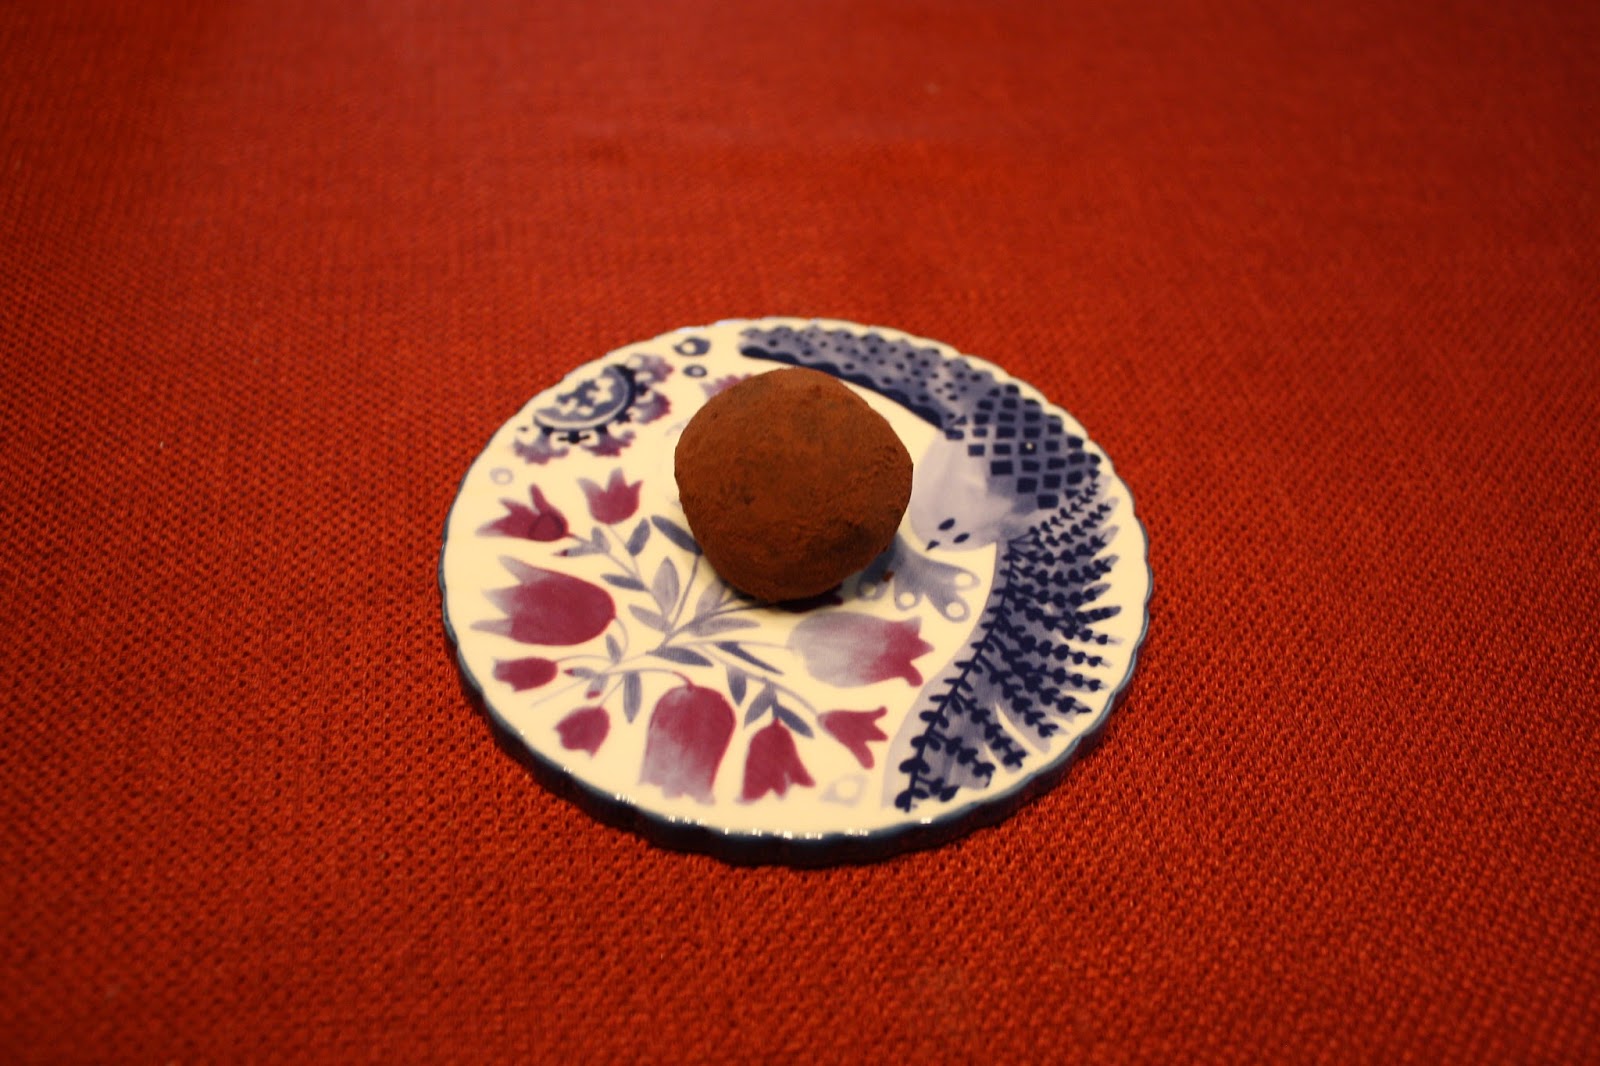
Use a tablespoon-sized scoop (I used my cookie scoop) or a tablespoon to scoop out small balls, then use your hands to gently but quickly roll/form the chocolate into balls. Toss in cocoa powder to coat and shake off excess (or leave bare), then set on a parchment-lined serving dish. Continue until all chocolate is scooped. There should be about 16 truffles, depending on the size of your scoop. (If any of the chocolate near the center of the bowl was too soft to form, refrigerate that portion for a bit longer before proceeding.)
Enjoy truffles immediately, or refrigerate for 1-2 hours or overnight. This allows them to set and firm up. Store truffles covered in the refrigerator for best freshness. To serve, let come to room temperature for 10-15 minutes for optimum creaminess.

On a side note, I decided to transfer my dark chocolate almond butter cups to a bite-sized format by using silicone candy molds. This was my first attempt and I ended up making the filling a bit too big (it was almost the diameter of the molds, but in hindsight, it should have been even smaller). As a result, the chocolate didn’t always settle all the way around each candy properly – I’ll know better next time.


No comments:
Post a Comment