Wednesday, February 16, 2011

Quick Carrot-Ginger Dressing


This recipe is from Real Simple. It was really easy to make, and absolutely delicious – just the flavours I was craving! The inspiration is Japanese, but you can serve it with a very simple salad of lettuce, tomatoes and green onions.

1 cup sliced carrots (about 2 large)
1 small shallot, sliced
1 2-inch piece fresh ginger, peeled and sliced
¼ cup white miso
2 Tbsp rice vinegar
¾ tsp toasted sesame oil
1/3 cup canola oil

Place the carrots, shallot, ginger, miso, vinegar, and sesame oil in a food processor. Blend, scraping down the sides as necessary, until very finely chopped, about 1 minute.

Add the canola oil and blend until nearly smooth, about 30 seconds. If necessary, thin the dressing with up to 2 Tbsp water. The dressing will keep in the refrigerator for up to 3 days.

Kettle Brand Baked Potato Chips

I’ve always been sceptical about baked potato chips, because Lord knows I’ve had my fair share of failed versions. Most of what’s on the market bear no resemblance to their fried counterparts, so I don’t enjoy eating them, And if you’re going to have chips, you should enjoy it, otherwise what’s the point? Enter Kettle Brand. I really like their regular fried chips, and I like the wide variety of flavours. But I recently saw some of their bags of baked chips, so I decided to give them a try. And I’m really glad I did, because these are perfect. You couldn’t tell that the chips have been baked instead of fried, by looking OR tasting them. It completely satisfies any chip craving you might have, but with 65% less fat than the fried version. We tried the sea salt, but I look forward to trying more flavours. The only problem is that I find the bags a bit small, so the chips do disappear quite quickly. But they’re the best baked chips on the market!

Spoon Cookies


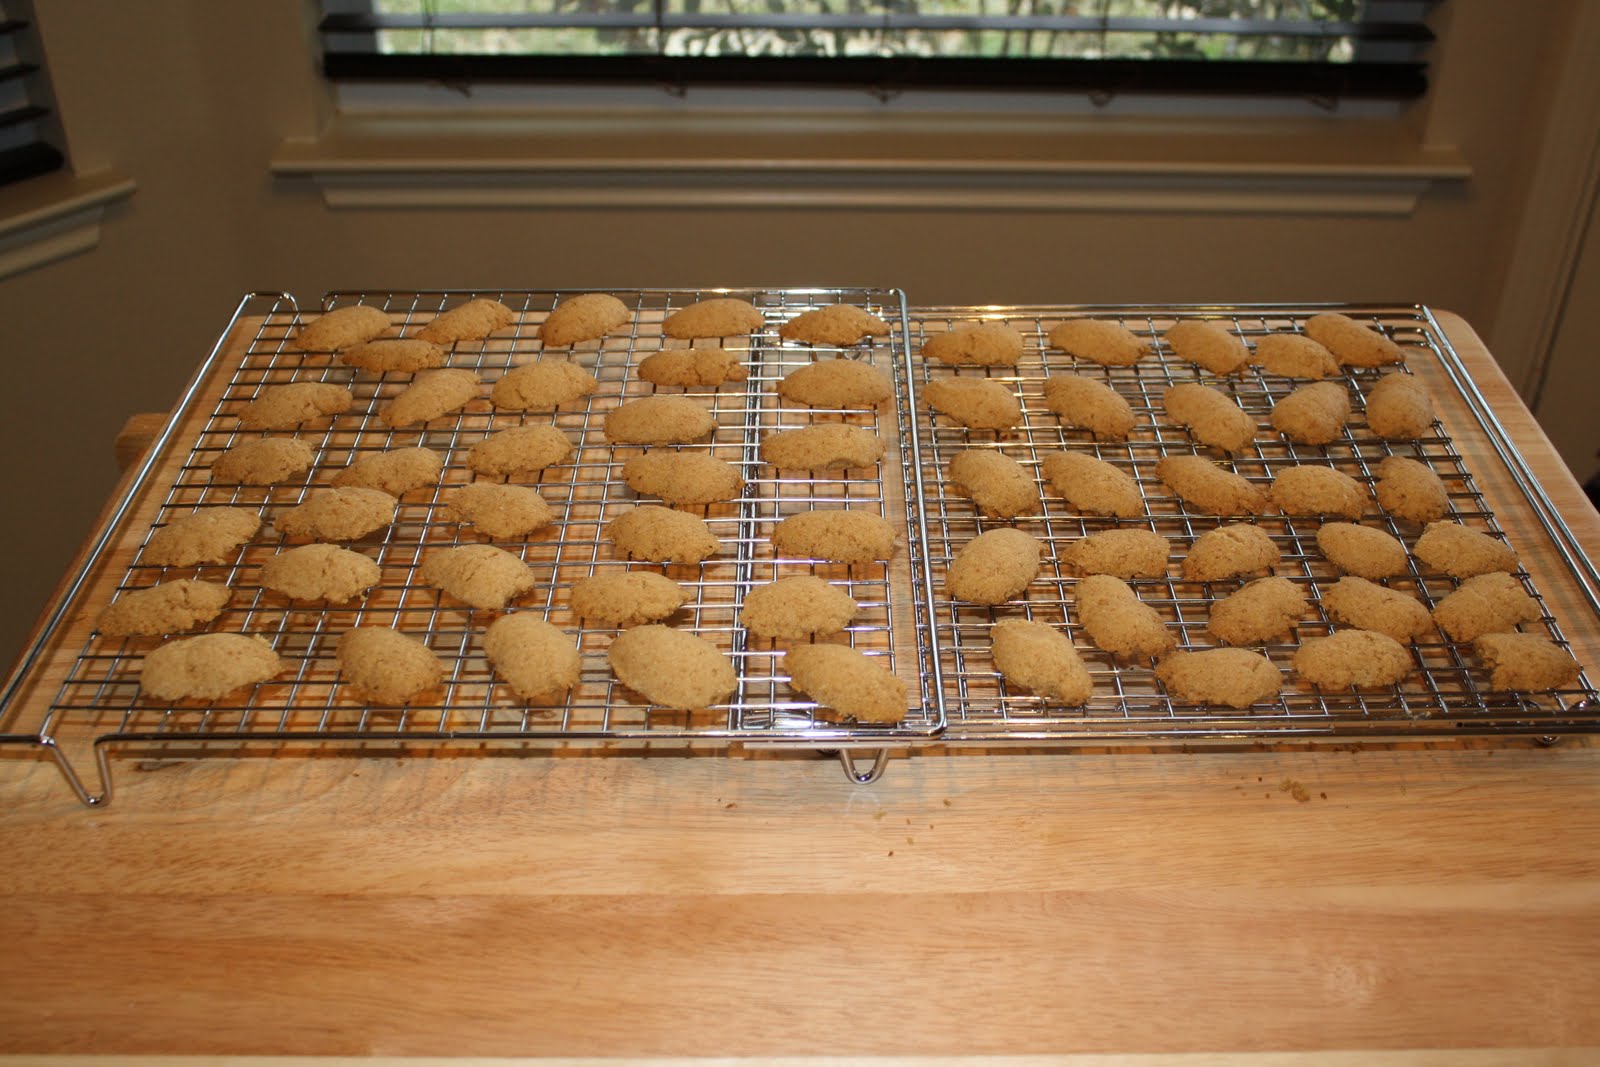
This recipe is from Orangette, They’re called spoon cookies because they are shaped in the bowl of a spoon. Molly Wizenberg recommends using an antique spoon, as those usually have better bowls than most modern spoons. My first thought was “But I only have modern spoons!”, and then I realized that’s not true. We inherited silverware from the Engineer’s grandmother, so I did use an antique silver spoon after all. The number of cookies depends on the size of your spoon: I ended up with 29 sandwich cookies, and 4 broken shells. I’d say you can expect about 30 sandwich cookies in all.

This was my first time making brown butter, and it wasn’t hard – you just have to keep an eye on it. I used real butter here, because Lord knows what different types of margarine would do if I tried to brown them! So it wasn’t lactose-free, but because I exercised near-irreproachable portion control, I didn’t suffer any ill effects. I actually felt like quite the domestic goddess when the Engineer called home in the middle of the afternoon and asked what I was doing (“Oh, just browning some butter. How is your day?”). I was surprised, though, that I had to put the saucepan directly from the stovetop into a sink full of cold water. Isn’t that what all the cookware instructions say not to do? To avoid that rapid change in temperature at all times? But Molly Wizenberg said to do it, and she has Calphalon pans like I do, so I followed the recipe – the pan doesn’t look any worse for wear, though you wouldn’t catch me doing that with my Le Creuset.

It’s true that these cookies are pretty long to make, as they involve several steps, but they are well worth it. The result is a buttery, sandy cookie with a thin layer of preserves. I think they would also be delicious with some chocolate ganache instead of preserves, or perhaps some warmed Nutella. They look distinguished, the sort of thing one might expect at high tea, but they’re only as fancy as you let them be. When he tasted the first cookie, the Engineer said that it was “butter than expected” *ba-da-bump!*, but by the third, he declared I had opened Pandora’s Box. I think he’s right – these look unassuming, but they are fantastic.

1 cup cold unsalted butter (not margarine), cut into cubes
¾ cup granulated sugar
2 tsp vanilla extract
2 cups unbleached all-purpose flour (scant, if anything)
1 tsp baking soda
1/8 tsp. salt, slightly rounded
heaping 1/3 cup fruit preserves (I used black cherry, but strawberry or raspberry would be great too)

To make the dough
Fill the kitchen sink with about 2 inches of very cold water.

In a medium heavy saucepan, melt the butter over moderate heat and cook, stirring occasionally, until the butter turns golden and smells nutty and flecks on the bottom of the pan turn a rich caramelly brown, about 10 to 12 minutes. (Butter will initially foam a bit, then dissipate. A thicker foam will appear and cover the surface just before the butter begins to brown; stir more frequently once this occurs.) Remove the pan from the heat and place it in the sink to stop the butter from cooking further. Cool, stirring occasionally, about 4 minutes. Remove the pan from the sink, and stir in the sugar and vanilla.


In a medium bowl, whisk together the flour, baking soda, and salt. Add to the butter mixture and stir until a dough forms. (It will smell mouthwateringly good.) Shape the dough into two balls and wrap in plastic wrap. Set aside at room temperature for 1 to 2 hours to allow the flavors to develop. (Alternatively, chill dough balls until you’re ready to use them. Allow the chilled dough to soften at room temperature for at least one hour before shaping into cookies and baking.)


To shape and bake the cookies
Set an oven rack in the middle position, and preheat the oven to 325°F.

Choose a teaspoon with a deep bowl. Pinch off a small bit of dough from one of the balls and press it into the bowl of the spoon, flattening the top. The dough will feel crumbly, but as you press and mold it, it will become cohesive. Pressing gently, slide the shaped dough out of the spoon and place it, flat side down, on an ungreased baking sheet. (I lined mine with a silicon liner for easy clean-up.) Continue forming cookies and arranging them on the sheet pan; you should be able to fit about 16 cookies. Bake the cookies until just pale golden, about 8 to 15 minutes (10 minutes was right for my cookies). Cool them on the sheet pan on a wire rack for 5 minutes; then transfer them to the rack and cool completely. Meanwhile, continue shaping and baking more cookies until all the dough is gone. You should be able to make about 60 to 70 cookies in all (I had 62).


To assemble the cookies
While the cookies cool, heat the preserves in a small saucepan over low heat until just runny. Pour and scrape through a sieve into a small bowl to remove seeds and solids. Cool completely. (I stuck mine in the fridge for a few minutes.)

Working with one cookie at a time, spread the flat side with a thin layer of preserves. Sandwich with the flat side of a second cookie. Continue with the remaining cookies and preserves. Let the finished cookies stand until the jam is set, about 45 minutes.


Transfer cookies to an airtight container and wait 2 days - really! - before eating to allow the flavor to develop. Alternatively, they can be frozen. (In my case, I compromised with the Engineer and we waited 1 full day before tasting them, though one cookie mysteriously disappeared overnight. As good as they were, the flavors really did improve with time.)


Friday, February 11, 2011

Premières étapes de jardinage

Le climat hivernal ici, c’est vraiment quelque chose. Autant l’été et l’automne, chaque jour était pareil, autant maintenant, si on n’aime pas le temps qu’il fait, il suffit d’attendre au lendemain. Vendredi dernier, le 4 février 2011, il a neigé pour la première fois depuis 1985. Il y avait à peine 1 cm de neige, mais sous cela il y avait une fine couche de glace. Sans pneus d’hiver et sans équipement pour déneiger ou épandre du sel ou du sable, les autorités ont dû tout fermer, y compris les autoroutes et les routes en ville. Les rares automobilistes qui défiaient l’ordre de fermeture restaient enlisés ou finissaient dans le fossé. Tout le monde avait congé d’école et de bureau. Alors qu’il n’y avait aucune voiture en vue, je n’ai pourtant jamais vu tant de monde en faisant ma promenade matinale avec Darwin : tout un chacun était sorti marcher, jouer et photographier la neige. Mais déjà, en après-midi, il n’en restait plus grand-chose.

Dimanche suivant, le 6 février, il faisait tellement chaud que l’Ingénieur et moi étions dehors en manches courtes, dans le jardin. Cela faisait des années que j’avais hâte d’avoir mon propre terrain pour pouvoir jardiner un peu. Mais notre cour arrière est en fait déjà aménagée et compte de belles plantes ornementales. Cependant, la maison était vide pendant quelques mois avant notre arrivée, et jusqu’à maintenant nous nous sommes plutôt concentrés sur l’aménagement intérieur et les boîtes à défaire. De plus, les anciens propriétaires n’ont laissé aucune instruction quant à l’identification des plantes ou aux soins à leur donner. La fin de semaine dernière, nous avions donc un beau mélange de plantes désirables mortes, de plantes désirables en dormance, de plantes désirables en bon état mais non identifiées et de mauvaises herbes, parfois difficiles à démêler les unes des autres. J’étais donc un peu paralysée devant tout le travail à faire et je ne savais pas où donner de la tête. Tout cela me semblait insurmontable.

J’ai reçu, pour mon anniversaire, deux livres sur le jardinage au Texas. J’ai donc commencé par me familiariser un peu avec le climat (du moins, la théorie) et je me suis créé une liste de plantes que j’aimerais cultiver, appelons-la ma liste de souhaits. Je veux commencer en douceur, avec des herbes et des fleurs cette année; on verra ensuite pour les fruits et les légumes. J’ai décidé de me lancer en attaquant le problème un morceau à la fois. D’abord, la plate-bande près de la porte arrière, qui contenait : une pompe à eau qui n’avait pas fonctionné depuis environ 8 mois, un buisson jadis fort joli mais déclaré non désirable car toujours rempli de guêpes, une plante araignée et une autre plante que je crois être du genre Liriope (elle porte des floraisons vertes). L’Ingénieur et moi avons donc enlevé le buisson et la plante araignée, vidé et nettoyé la pompe, désherbé puis tué bien des fourmis avec un insecticide au chrysanthème. (J’ignore de quelle espèce de fourmis il s’agit, mais c’est bien la première fois de ma vie que je me suis fait mordre comme ça!)


Un échantillon du buisson jadis fort joli.


On a nettoyé une des trois mangeoires à oiseaux et on l’a remplie de graines. L’une des deux autres mangeoires est pour attirer des colibris, qui je crois seront là plus tard dans la saison.


J’ai également acheté des graines pour commencer des semis à l’intérieur : basilic, coriandre, origan, thym, romarin, lavande et pois de senteur pour l’arrière. Ma liste de souhaits comprend également, pour cette plate-bande et les deux pots qui seront placés à côté, de la menthe, de l’ail, du gingembre, des fraises et des clématites. On verra si je peux compléter tout ça ce printemps. Sinon, puisque l’été est trop chaud pour permettre d’entretenir certaines plantes, je pourrai continuer à l’automne.


Notre plan est de continuer à faire le ménage dans la cour, un coin à la fois, jusqu’à ce que ce soit fini. Nous identifions les plantes en même temps, dans la mesure du possible, et ajustons les soins que nous leur portons. Je ne planterai rien avant au moins la mi-mars, car il y a des risques de gel avant cela. Le mercredi 9 février était d’ailleurs la première fois qu’il fait encore sous zéro en après-midi, même en comptant le jour de neige!

Wednesday, February 09, 2011

Blood Orange and Avocado Salad with Pomegranate Seeds


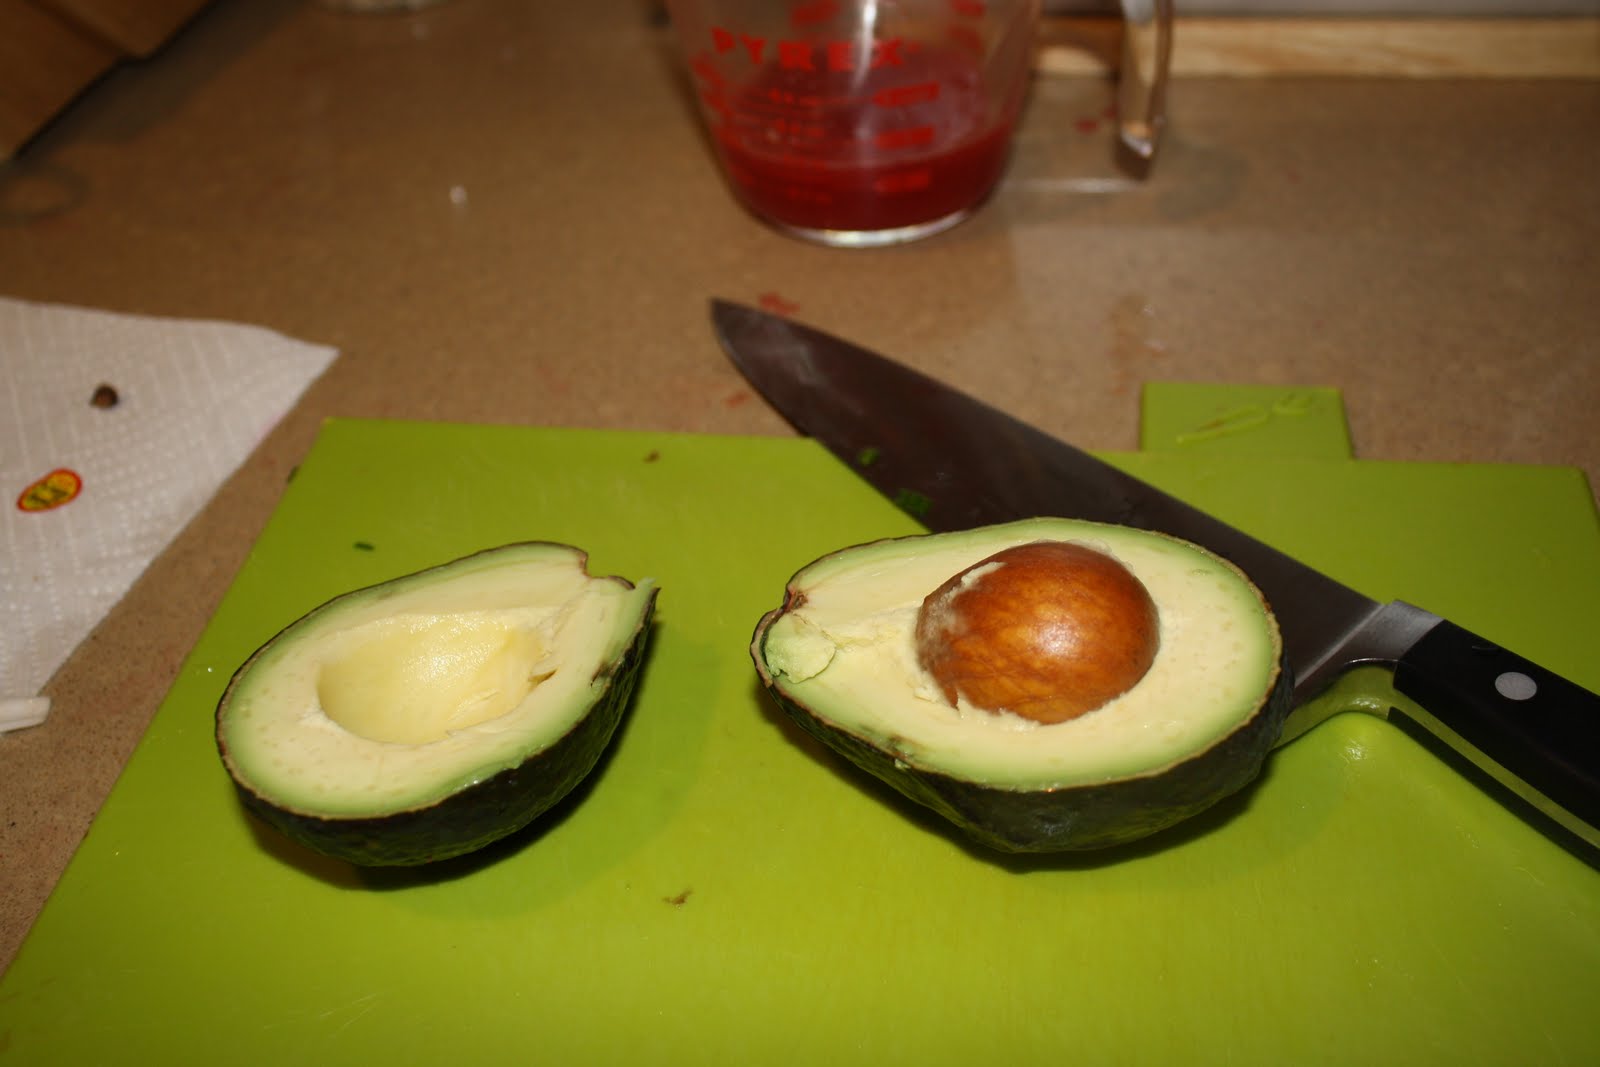
I saw this recipe on the Oprah website; it was originally a salsa recipe, but I chopped pieces bigger and made it into a salad. The recipe contains a great tip on how to seed a pomegranate while minimizing indelible stains. However, I couldn’t find a pomegranate that week, so I used freeze-dried pomegranate seeds that I soaked in hot water for a few minutes. The avocados I used were just perfect, though! I used half and avocado per serving. And the blood oranges were finally, finally blood red. I’m stubborn and still refuse to measure chopped onion, so I used half a red onion – I think it was a little too much, though maybe if the pieces had been smaller, it would have been better. Also, could you believe that the Italian parsley we had mistakenly bought instead of cilantro hadn’t magically turned into cilantro in the fridge over the course of the week? Crazy, right? So we did without again, but I think arugula would be a good addition to this salad.


I loved this dish, as it was the most colourful salad ever. The Engineer said it was like eating a piece of art. The flavours meshed quite well, and it was a refreshing dish. It’s great as a side dish or as a light lunch with bread and cheese. The yield is about 4 cups, so 4 small servings.

1 Tbsp fresh lime juice (from 1 lime)
1 tsp kosher salt or sea salt
1/8 tsp freshly ground black pepper
6 blood oranges
1 pomegranate
1 large Hass avocado, halved, pitted, peeled, and cut into ½-inch pieces
2/3 cup diced red onion
1 jalapeno chili, seeds and ribs removed, minced (optional, I didn’t use it)
2 green onions, including green tops, cut on the diagonal into thin slices
¼ cup chopped fresh cilantro leaves

In a large bowl, whisk together lime juice, salt, and pepper until salt dissolves.

Remove all skin, white pith, and seeds from the oranges, reserving any juice that's squeezed out in the process. Drain juice into a measuring cup and set aside. Cut orange segments into ½-inch pieces and add to bowl containing lime juice. (I left the skinned segments whole, as they weren’t that big.)

To extract the seeds from the pomegranate, cut the fruit into quarters. Submerge the quarters in a large bowl of cold water and place it in the kitchen sink to contain any squirting pomegranate juice. Using your fingers, gently detach the seeds from the membrane and rind. The seeds will sink to the bottom of the bowl. Discard any pith, drain the water, blot the seeds lightly with paper towels, and add to the bowl with the orange segments.

Add the red onion, jalapeño (if using), green onion and cilantro to the bowl. When ready to serve, add the avocado. Using a rubber spatula, gently fold the ingredients together, being careful to not mash them. Add reserved orange juice, 1 Tbsp at a time, until salsa is moist but not soupy. Taste and adjust seasoning. Serve at room temperature or cold. The salad can be covered and set aside in the fridge for 1 hour to allow flavors to meld – the red onion and orange juice should keep the avocado from browning too much. Serve at room temperature with tortilla chips.


Crêpes de la Chandeleur

Je n’étais pas certaine de publier cette recette, mais finalement, je me dois de le faire. En effet, l’Ingénieur ne raffole pas des crêpes, habituellement, mais il a aimé celles-ci! C’est une recette que j’ai adaptée de Coup de Pouce (qui ne l’a pas mise en ligne). Il s’agit de crêpes au sarrasin (je dis crêpes et non galettes, car en plus de la farine de sarrasin, de l’eau et du sel, elles contiennent un œuf et du jus de pomme); je les ai servies avec une sauce blanche sans lactose (adaptée d’une recette de ma mère tirée d’un livre de Five Roses), du jambon et du fromage suisse râpé. On a beaucoup aimé ça tous les deux! Les crêpes au sarrasin étaient également très bonnes avec de la confiture de cerises pour le déjeuner. Par contre, pour une raison que j’ignore, il n’y a pas eu de crêpe du chien, alors Darwin n’y a pas goûté.

Le sarrasin à l’état pur ne contient pas de gluten; pour la sauce blanche, vous pourriez sans doute utiliser une farine tout usage sans gluten à la place de la farine de blé.

Pour les crêpes (8 portions)
2 tasses de farine de sarrasin
½ c. thé de sel
½ c. à thé de bicarbonate de soude
1 œuf
1 tasse d’eau
2 tasses de jus de pomme
1 c. à thé de vinaigre de cidre

Pour la sauce blanche (4 portions)
2 c. à soupe de beurre ou de margarine
2 c. à soupe de farine blanche
1 tasse de lait sans lactose
sel et poivre, au goût

Pour les crêpes
Mélanger la farine de sarrasin, le sel et le bicarbonate de soude, puis creuser un puits au centre, briser l’œuf et le délayer avec un peu de farine.

Incorporer l’eau puis le jus de pomme peu à peu, en mélangeant à la main. Ajouter le vinaigre de cidre et mélanger doucement. Laisser reposer environ 15 minutes à la température ambiante, le temps que des bulles se forment.

Chauffer une poêle antiadhésive à feu moyen, la beurrer, y verser une louche de préparation et l’étendre. Laisser cuire d’un côté jusqu’à ce que les bords de la galette décollent de la poêle, puis retourner et la laisser cuire de l’autre.

Servir avec de la sauce blanche, du jambon et du fromage suisse, par exemple.

Pour la sauce blanche
Faire fondre le beurre dans une petite casserole; incorporer lentement la farine. Faire cuire à feu moyen, en remuant, de 3 à 5 minutes à compter des premiers bouillons. Incorporer le lait graduellement; assaisonner. Faire cuire en remuant sans arrêt, jusqu’à ce que la sauce soit lisse et épaisse et commence à bouillir.

Tuesday, February 08, 2011

Meyer Lemon Tart


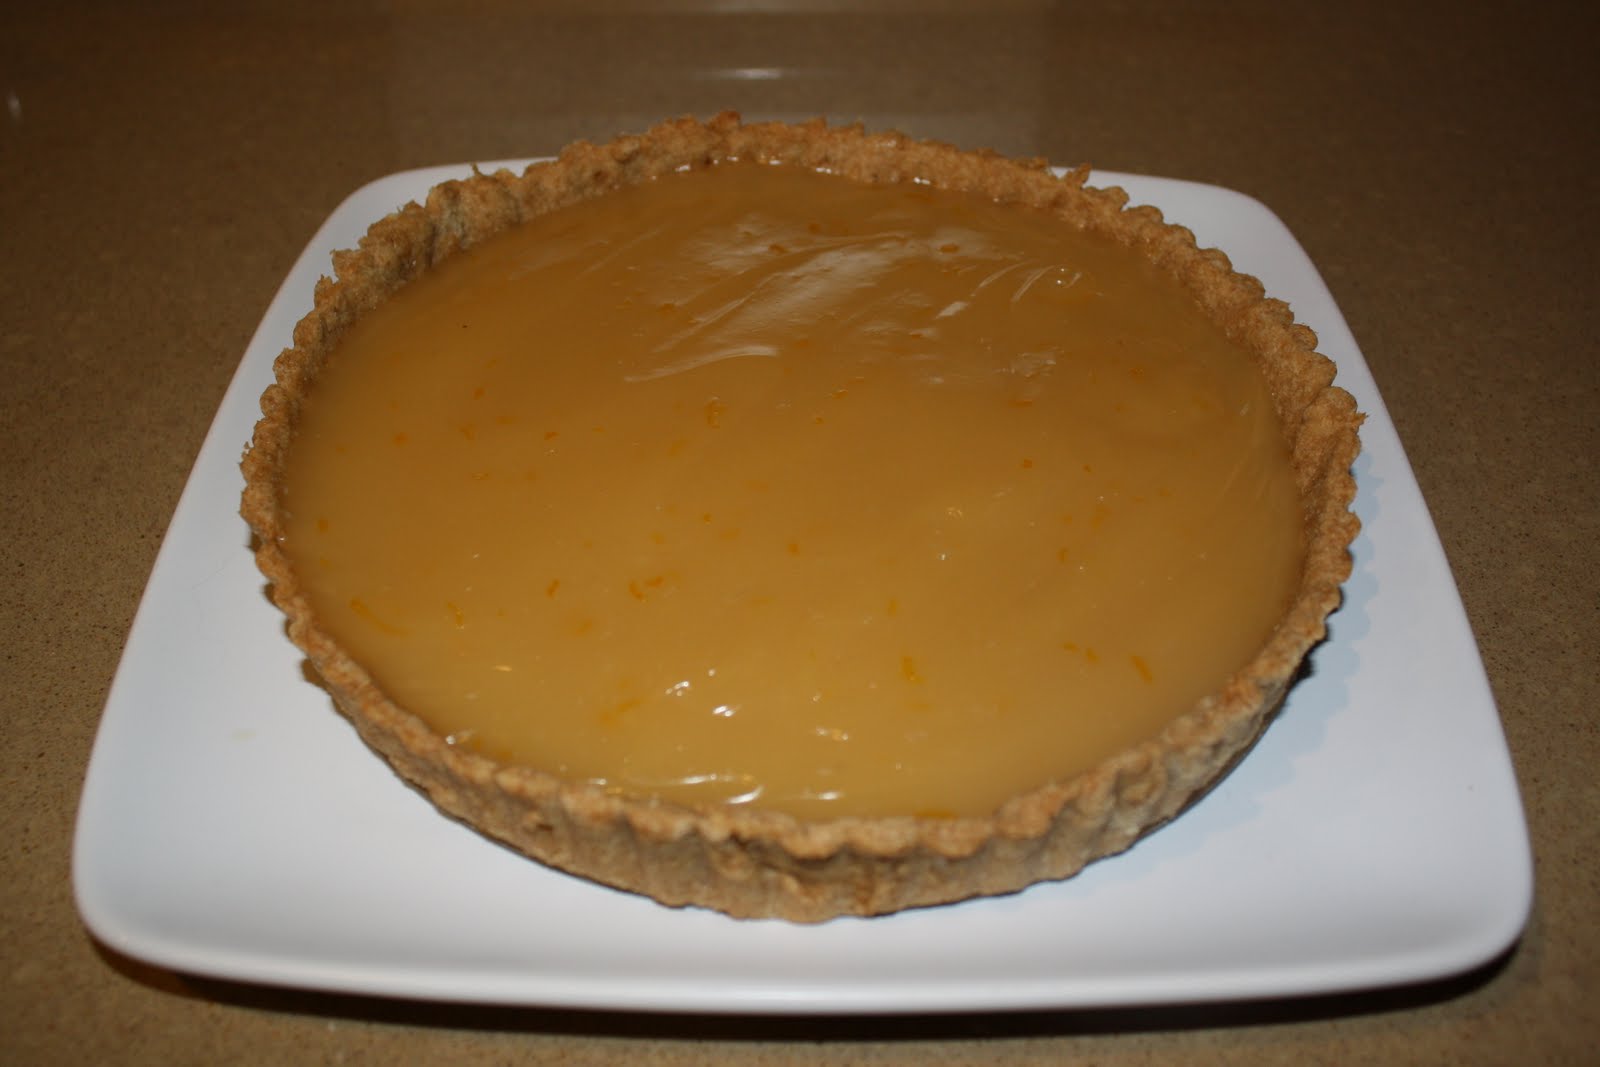
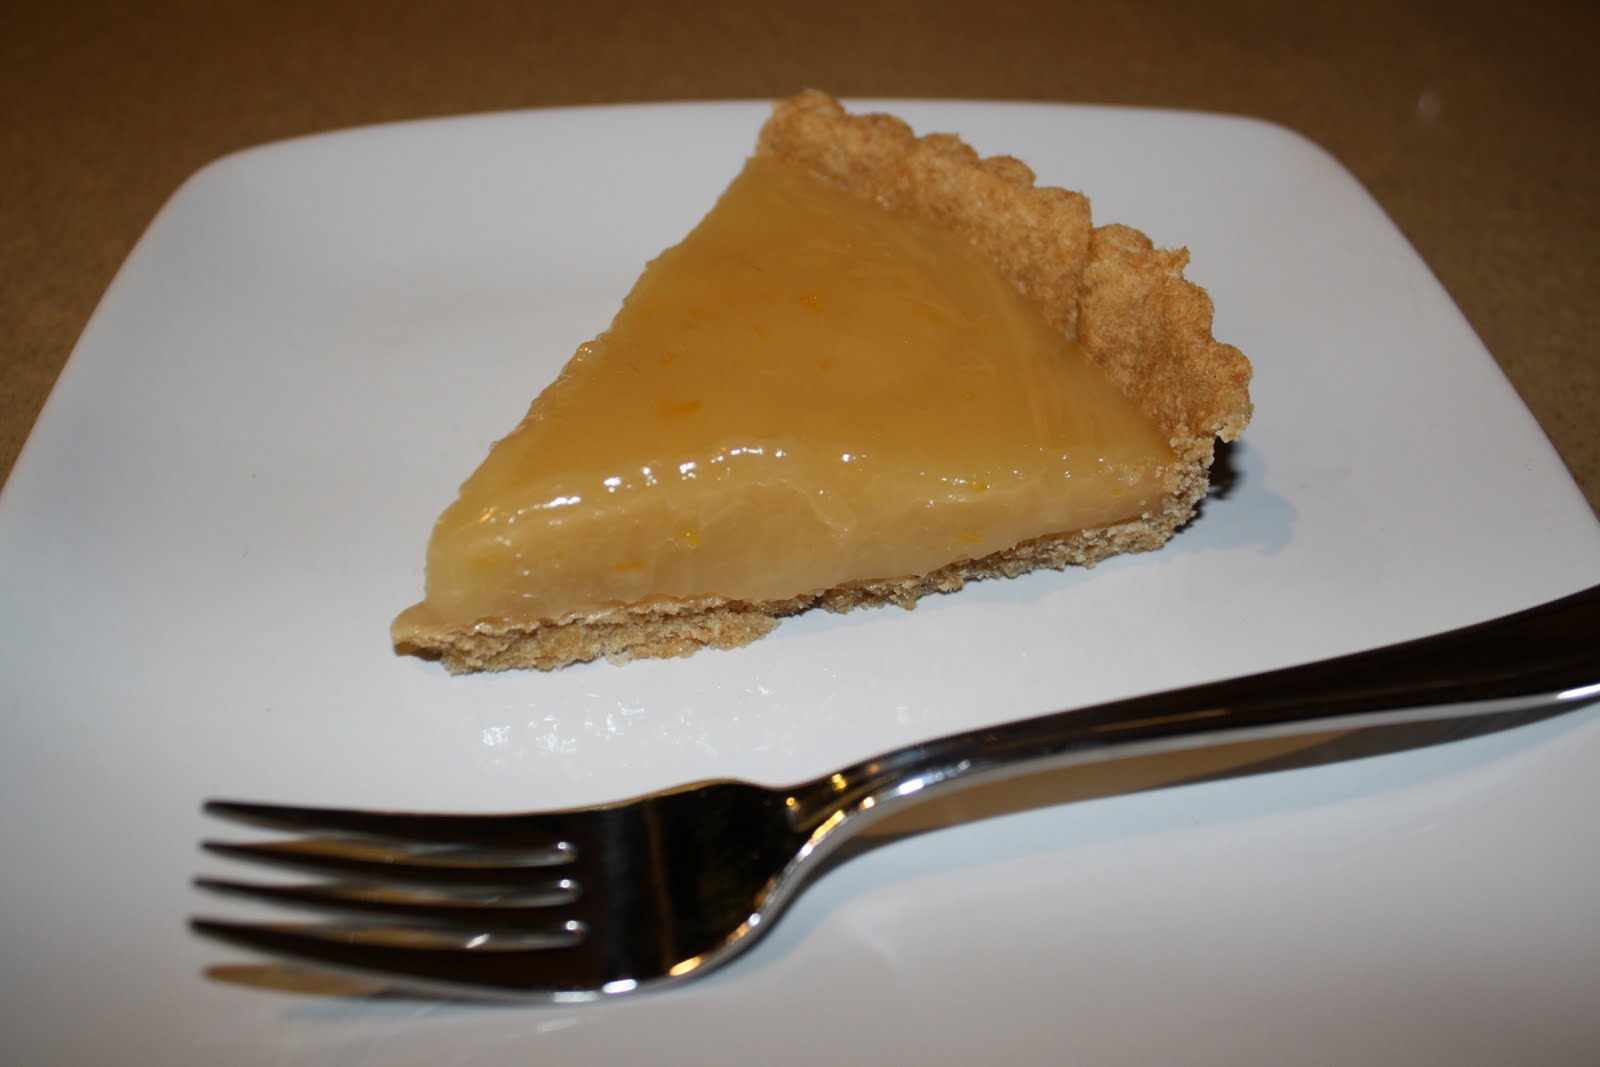
This is the third (and final) thing I made with my Meyer lemons, after the two kinds of pudding cakes. It’s a macrobiotic recipe, the second I try from Love, Eric (and I really loved the first). Éric Lechasseur calls this a pie, but I think it’s a tart.

Right away, I had to make a few substitutions: I couldn’t find amazake, but since it’s a rice drink used as a sweetener, I decided to use ¾ cup rice milk and ¼ cup rice syrup, instead of the 1 cup amazake. I also didn’t have agar flakes at that point, so I used kuzu instead (but as I said in the last post where I cooked from this book, you could use another vegetable thickener in its place, like corn starch or arrowroot starch). I had 9 Meyer lemons left in total, 3 big and 6 small. I squeezed all the juice I could from them, and ended up with a little over 1 cup of liquid instead of the 1 ½ cups called for. That being said, the sweet/tart ratio was just fine (I could have gone for more sugar, but not more lemon juice), so I’ll use 1 cup in the ingredients below. Also, don’t forget to zest your lemons BEFORE juicing them – keep the extra zest for garnish (since this is only written at the very end of the recipe as published, I only had enough zest for the tart itself and my lemons were juiced and in the trash can before they could be used for garnish).


It should be said that while I liked this tart, the Engineer did not. He felt that the texture was unlike anything he’d ever had before, and while it’s true that it is different than that of a tart made with egg yolks, I didn’t share his concerns.

For the crust
1 cup spelt flour
¾ cup unbleached white wheat flour
¼ tsp sea salt
1/3 cup maple sugar
1/3 cup safflower oil
¼ cup water

For the lemon filling
1 cup plain amazake (or ¾ cup rice milk + ¼ cup rice syrup)
zest of 1 Meyer lemon (for the filling) + extra zest for garnish
1 cup Meyer lemon juice (or a little more)
¼ cup rice syrup
¼ cup maple syrup
1 tsp vanilla extract
2 ½ Tbsp agar flakes
4 Tbsp arrowroot
¼ cup organic apple juice

For the crust
Preheat the oven to 350 °F.

combine the dry ingredients in a bowl. Add the oil and water, and knead quickly to form a dough. Allow dough to sit for 15 minutes.

Using a rolling pin, roll the dough into a circle to fit a 9-inch tart pan. (Dough thickness should not exceed ¼-inch.) Gently line the tart pan with the dough, prick it with a fork and bake for 20 to 25 minutes. Remove from the oven and allow to cool.

For the lemon filling
Combine all the ingredients, except for the arrowroot and apple juice, in a saucepan. Bring to a simmer and cook for 8 minutes, whisking constantly.

In a small bowl, combine the arrowroot and the apple juice, then whisk into the lemon filling. Continue cooking and whisking a few more minutes. Remove from flame and allow to cool slightly.

Pour the filling into the baked tart shell. Garnish with lemon zest around the edges and refrigerate until firm.


Beef and Shallot Stew


This is a recipe published in Real Simple. I had to wait a while to make it, because you really need a lot of shallots, and most stores only had 2 or 3 left for a while. This dish reminds me of bœuf bourguignon, but with fewer ingredients. I really like how simple it was to make, while still being extremely satisfying. This makes about 4 servings, so we froze some of it. I served it with roasted potatoes the first night (I used fingerlings left over from this recipe), and a wonderful dairy-free risotto the next (so I did eat it more like bœuf bourguignon than soup). You could probably throw some potatoes or carrots in that stew to have a true one-pot meal.

4 lbs chuck meat, cut into 3- to 4-inch pieces, or 4 lbs precut stew meat
1 Tbsp kosher salt
1 tsp black pepper
1 Tbsp olive oil
1 bottle dry red wine
1 ½ lbs shallots, peeled
1 cup low-sodium chicken broth
8 sprigs fresh thyme

Heat oven to 300 ° F. Season the beef with the salt and pepper. Heat the oil in a Dutch oven or ovenproof pot over medium-high heat. Add some of the beef to the pot and brown on all sides. Transfer to a plate. Repeat with the remaining beef.

Spoon off and discard all but 1 Tbsp of the drippings. Add the wine and cook, stirring and scraping the bottom, for 3 minutes.

Return the beef to the pot along with the shallots and broth. Bring to a boil. Skim any foam. Add the thyme. Cover and transfer to oven until the beef is tender, about 2 hours. Spoon into individual bowls.