

This recipe is from Orangette, They’re called spoon cookies because they are shaped in the bowl of a spoon. Molly Wizenberg recommends using an antique spoon, as those usually have better bowls than most modern spoons. My first thought was “But I only have modern spoons!”, and then I realized that’s not true. We inherited silverware from the Engineer’s grandmother, so I did use an antique silver spoon after all. The number of cookies depends on the size of your spoon: I ended up with 29 sandwich cookies, and 4 broken shells. I’d say you can expect about 30 sandwich cookies in all.
This was my first time making brown butter, and it wasn’t hard – you just have to keep an eye on it. I used real butter here, because Lord knows what different types of margarine would do if I tried to brown them! So it wasn’t lactose-free, but because I exercised near-irreproachable portion control, I didn’t suffer any ill effects. I actually felt like quite the domestic goddess when the Engineer called home in the middle of the afternoon and asked what I was doing (“Oh, just browning some butter. How is your day?”). I was surprised, though, that I had to put the saucepan directly from the stovetop into a sink full of cold water. Isn’t that what all the cookware instructions say not to do? To avoid that rapid change in temperature at all times? But Molly Wizenberg said to do it, and she has Calphalon pans like I do, so I followed the recipe – the pan doesn’t look any worse for wear, though you wouldn’t catch me doing that with my Le Creuset.
It’s true that these cookies are pretty long to make, as they involve several steps, but they are well worth it. The result is a buttery, sandy cookie with a thin layer of preserves. I think they would also be delicious with some chocolate ganache instead of preserves, or perhaps some warmed Nutella. They look distinguished, the sort of thing one might expect at high tea, but they’re only as fancy as you let them be. When he tasted the first cookie, the Engineer said that it was “butter than expected” *ba-da-bump!*, but by the third, he declared I had opened Pandora’s Box. I think he’s right – these look unassuming, but they are fantastic.
1 cup cold unsalted butter (not margarine), cut into cubes
¾ cup granulated sugar
2 tsp vanilla extract
2 cups unbleached all-purpose flour (scant, if anything)
1 tsp baking soda
1/8 tsp. salt, slightly rounded
heaping 1/3 cup fruit preserves (I used black cherry, but strawberry or raspberry would be great too)
To make the dough
Fill the kitchen sink with about 2 inches of very cold water.
In a medium heavy saucepan, melt the butter over moderate heat and cook, stirring occasionally, until the butter turns golden and smells nutty and flecks on the bottom of the pan turn a rich caramelly brown, about 10 to 12 minutes. (Butter will initially foam a bit, then dissipate. A thicker foam will appear and cover the surface just before the butter begins to brown; stir more frequently once this occurs.) Remove the pan from the heat and place it in the sink to stop the butter from cooking further. Cool, stirring occasionally, about 4 minutes. Remove the pan from the sink, and stir in the sugar and vanilla.


In a medium bowl, whisk together the flour, baking soda, and salt. Add to the butter mixture and stir until a dough forms. (It will smell mouthwateringly good.) Shape the dough into two balls and wrap in plastic wrap. Set aside at room temperature for 1 to 2 hours to allow the flavors to develop. (Alternatively, chill dough balls until you’re ready to use them. Allow the chilled dough to soften at room temperature for at least one hour before shaping into cookies and baking.)


To shape and bake the cookies
Set an oven rack in the middle position, and preheat the oven to 325°F.
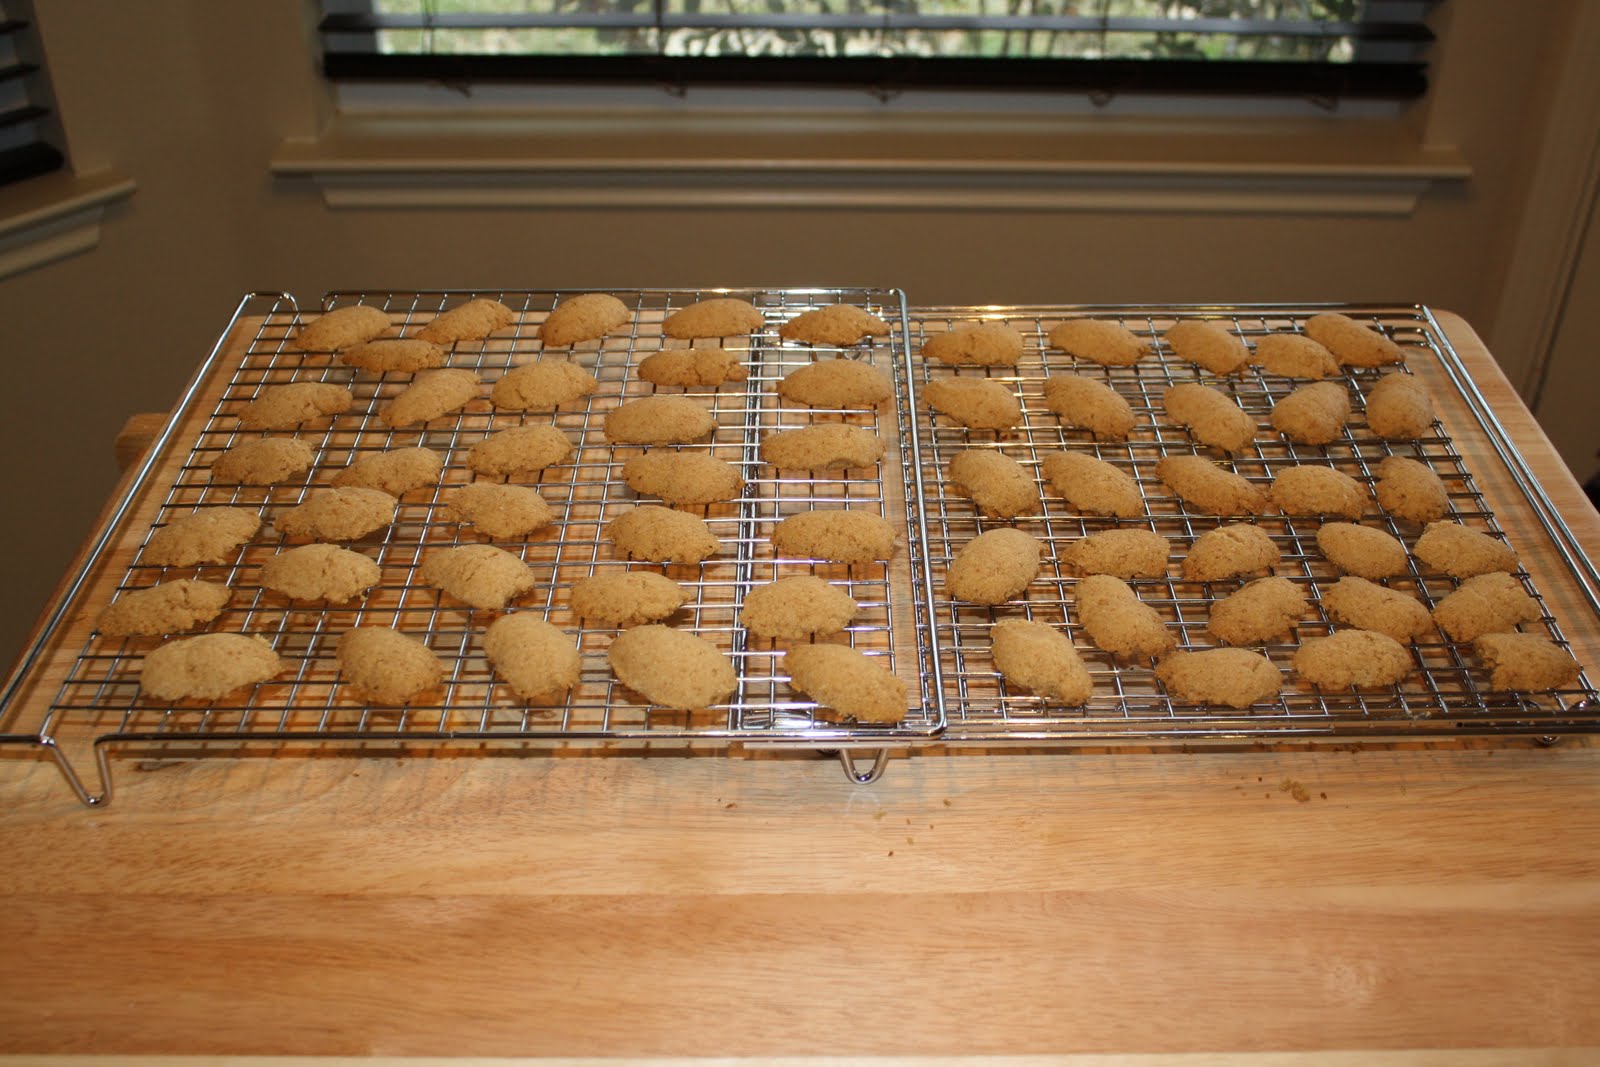
Choose a teaspoon with a deep bowl. Pinch off a small bit of dough from one of the balls and press it into the bowl of the spoon, flattening the top. The dough will feel crumbly, but as you press and mold it, it will become cohesive. Pressing gently, slide the shaped dough out of the spoon and place it, flat side down, on an ungreased baking sheet. (I lined mine with a silicon liner for easy clean-up.) Continue forming cookies and arranging them on the sheet pan; you should be able to fit about 16 cookies. Bake the cookies until just pale golden, about 8 to 15 minutes (10 minutes was right for my cookies). Cool them on the sheet pan on a wire rack for 5 minutes; then transfer them to the rack and cool completely. Meanwhile, continue shaping and baking more cookies until all the dough is gone. You should be able to make about 60 to 70 cookies in all (I had 62).


To assemble the cookies
While the cookies cool, heat the preserves in a small saucepan over low heat until just runny. Pour and scrape through a sieve into a small bowl to remove seeds and solids. Cool completely. (I stuck mine in the fridge for a few minutes.)
Working with one cookie at a time, spread the flat side with a thin layer of preserves. Sandwich with the flat side of a second cookie. Continue with the remaining cookies and preserves. Let the finished cookies stand until the jam is set, about 45 minutes.


Transfer cookies to an airtight container and wait 2 days - really! - before eating to allow the flavor to develop. Alternatively, they can be frozen. (In my case, I compromised with the Engineer and we waited 1 full day before tasting them, though one cookie mysteriously disappeared overnight. As good as they were, the flavors really did improve with time.)


No comments:
Post a Comment